

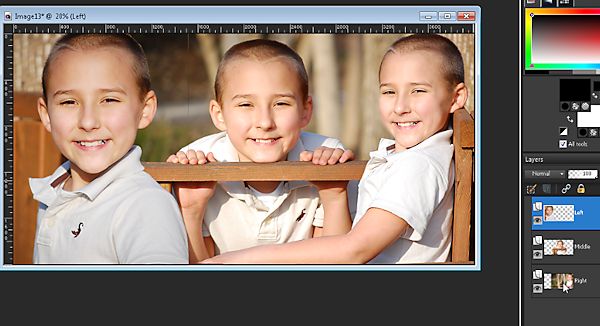
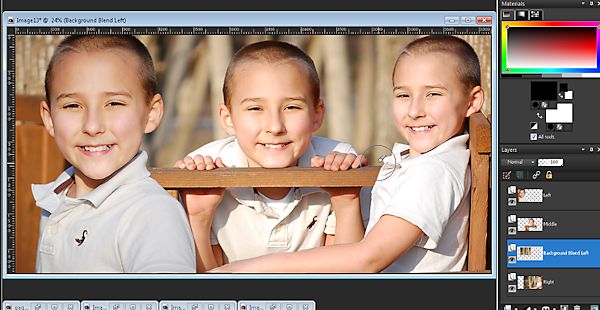
I originally created this blended collage of my oldest son Gage in Paintshop pro a couple years ago to hang on our wall. A few days ago I shared the photo on the Facebook Fan page and a user requested a tutorial for this and another collage. I will share the other one later this week once I complete it. If you have a tutorial request contact me on the Paintshopblog Facebook Fanpage and I will try my best to complete it for you.
As I mentioned, this collage was shared on the Paintshopblog fanpage and one of our fans requested a tutorial for it. Here it is NikkiLea, I hope this tutorial helps you and anyone else interested in creating custom collages. Thanks for following the fanpage.
I have included the three images of my son in a zip file, that way you can easily follow along while learning the process.
If you would like to create a similar collage using your own photos, then I recommend using photos taken in one general location around the same time of the day. Doing this will produce the most realistic results because the lighting and shadows will be very similar. If you do use your own photos try taking three different poses with similar orientations to the photos used in this tutorial.
Alternately, you can use the techniques applied in this tutorial to create your own unique blended collage design in Corel Paintshop Pro. Once you learn how the tools and layer stacking works, the type of collages you can create are only limited by your imagination.
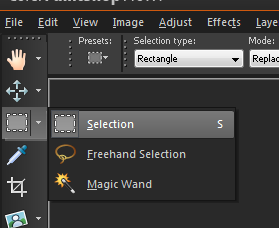
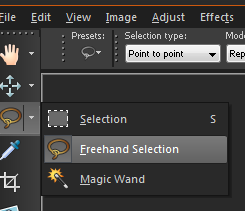
To complete this tutorial we mainly use the Freehand Selection tool (set to point to point mode), and we briefly use the Eraser Brush set to a low opacity to blend in the background. You can also follow along using the video tutorial below.
This tutorial should be compatible with all versions of Paintshop Pro.
Blended photo collage Corel Paintshop Pro X4 Video Tutorial
Preview

Step 1
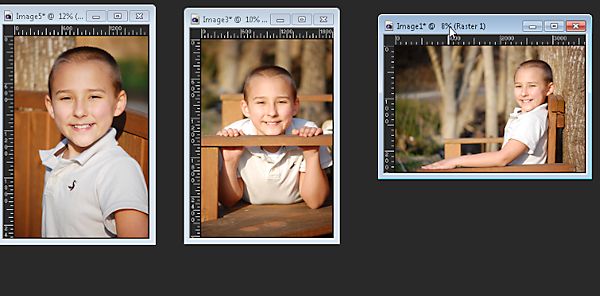
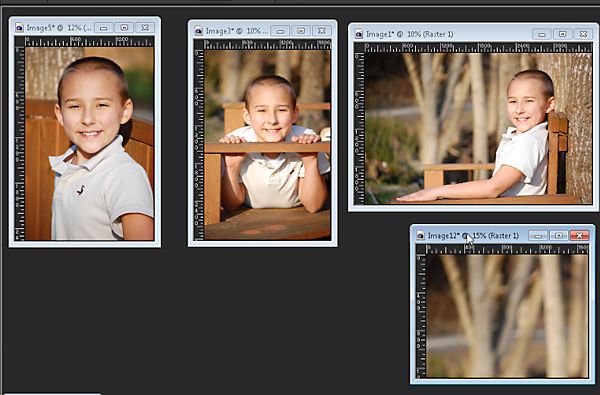
Open the three images that I attached or use three of your own.
Step 2
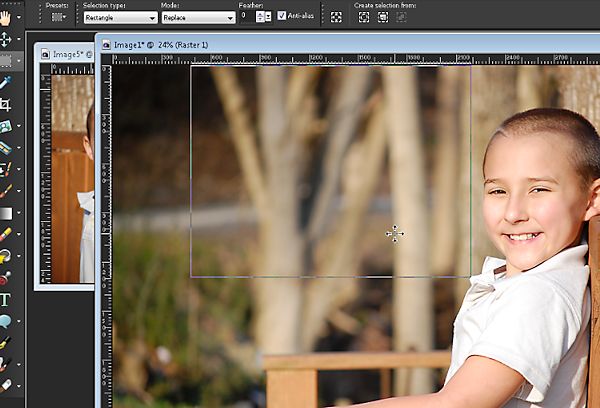
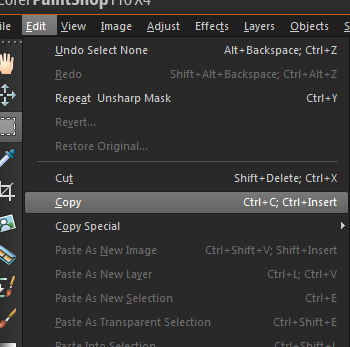
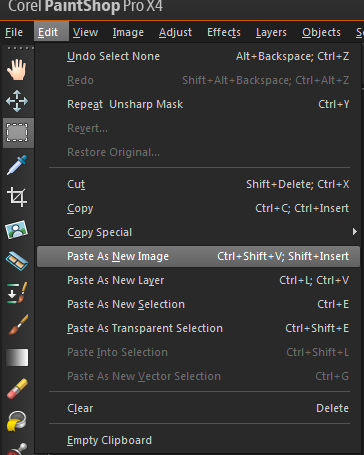
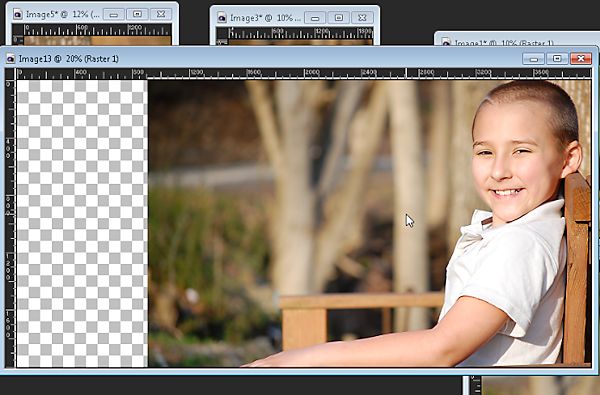
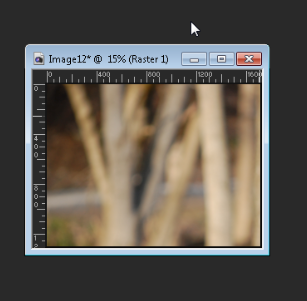
Zoom in on the photo with the background that you want to use. Use the Rectangle Selection tool to select a portion of the background. Now, select Edit > Copy to copy the selection to the clipboard. Next, go to Edit > Paste as a new Image. Press CTRL+D to deselect the active selection.
Step 3
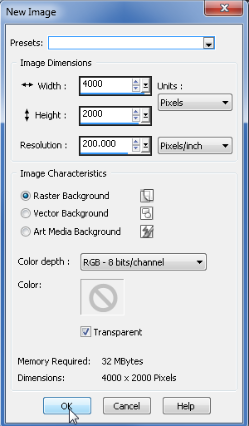
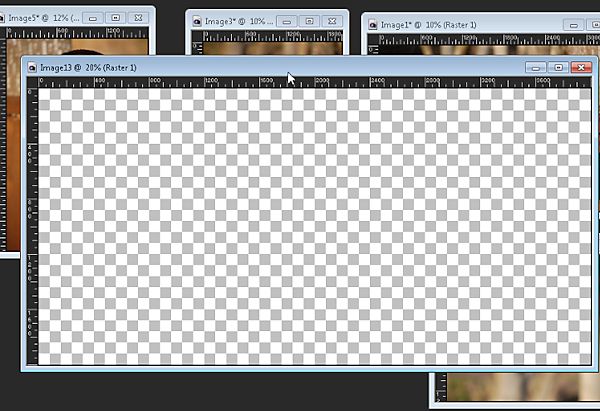
Create a new 4000 x 2000 image with a transparent background. File > New Image. Note: If you are using smaller photos for your collage then you will obviously need to use smaller image dimensions.
Step 4
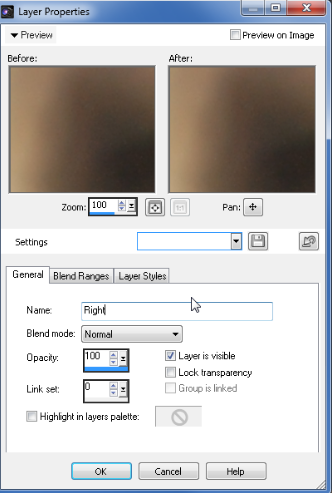
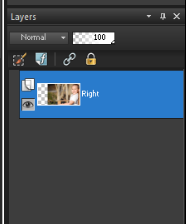
Edit > Copy the image that you will be using on the right side of the collage. Next, paste (Edit > Paste as New Selection) it to the newly created image on the ‘Raster 1’ layer. Rename the ‘Raster 1’ layer to ‘Right.’
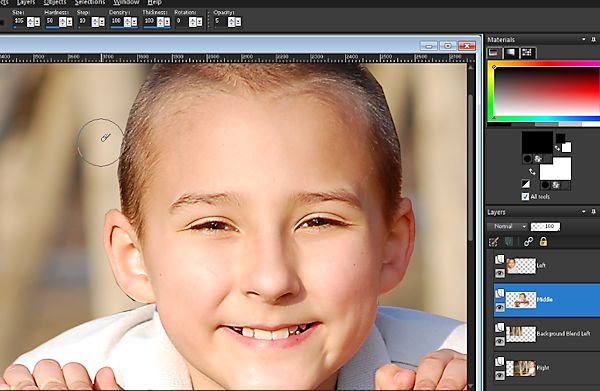
Step 5
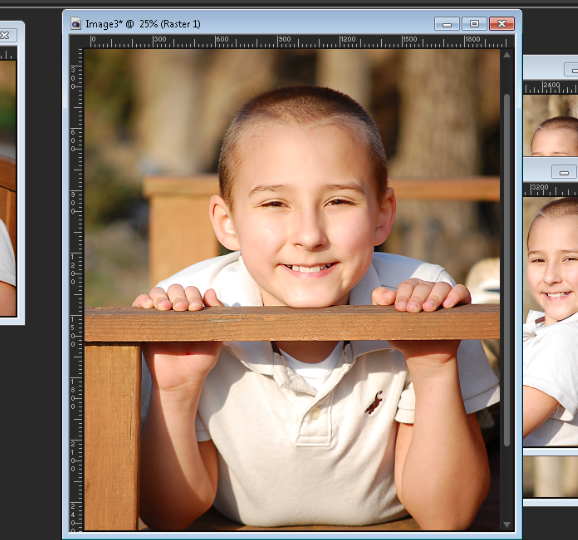
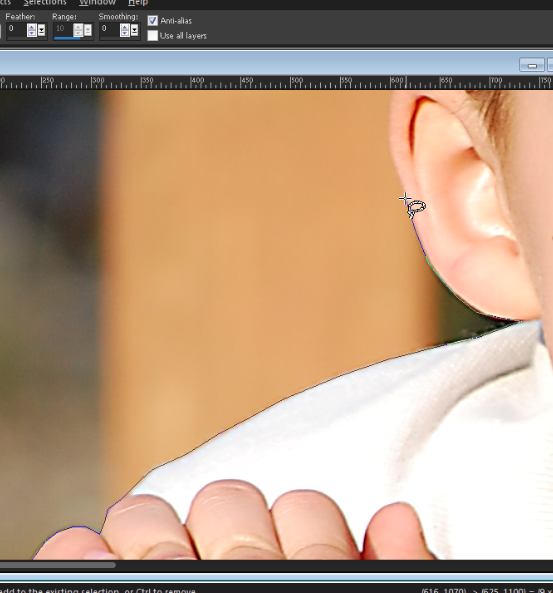
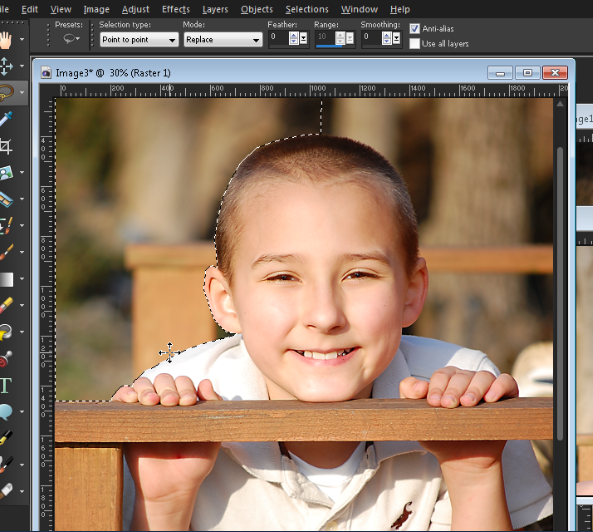
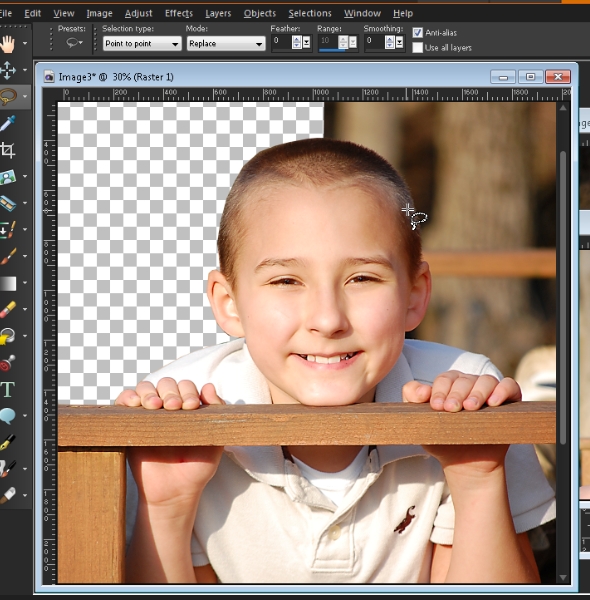
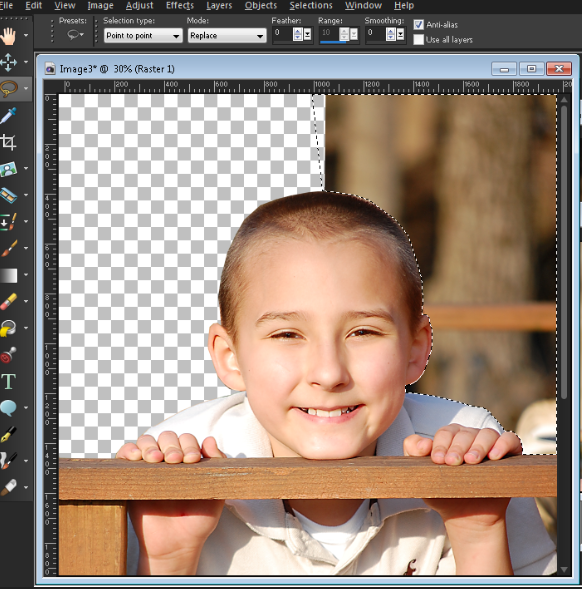
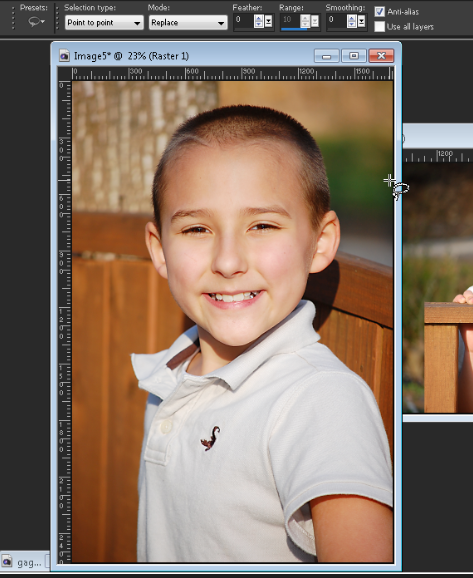
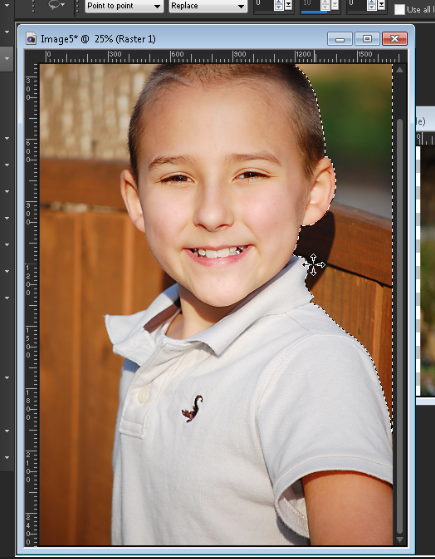
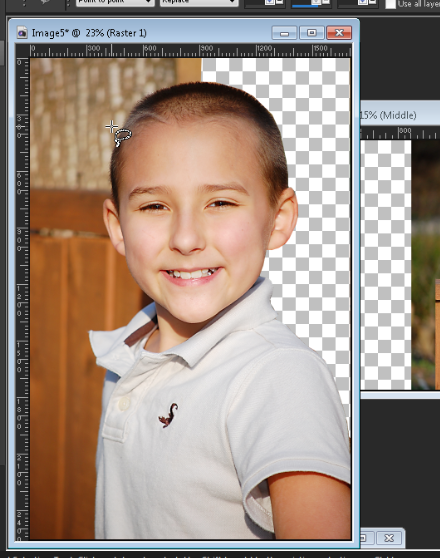
Select and zoom in on the image that you will be using for the middle of the blended collage. Select the Freehand Selection Tool with the mode set to “point to point.” Slowly, trace around the head area. Once the selection is complete, right click on the mouse to complete the selection. Next, press ‘Delete’ on your keyboard to remove the selection from the image. Then press CTRL + D to deselect. Note: The selection around the hair doesn’t need to be perfect. We will use the eraser brush to blend it later in the tutorial.
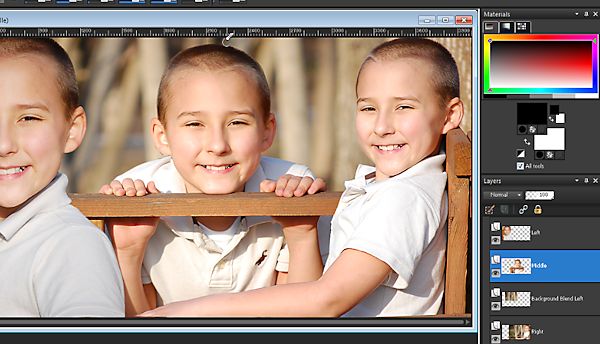
Step 6
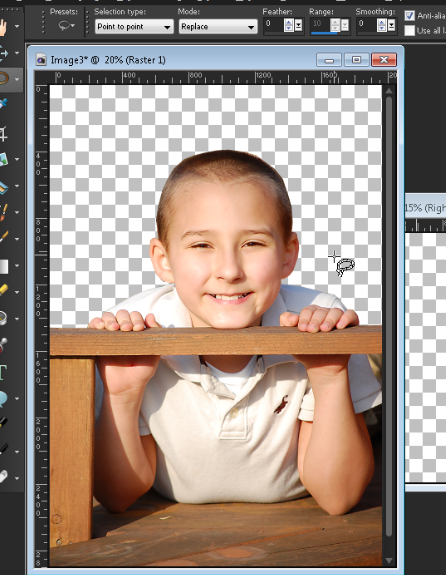
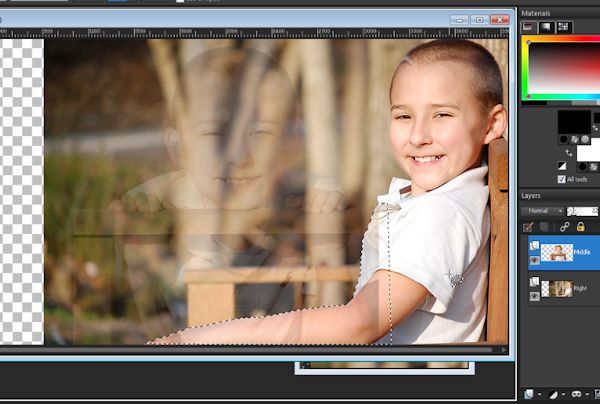
Pull up the 4000 x 2000 image and create a new raster layer and rename it ‘Middle.’ Select the middle image that we just removed the background from and go to Edit > Copy. With the layer name ‘Middle’ selected go to Edit > Paste as New Selection. Reposition the image using the move tool (Press ‘M’ on the keyboard) .
Step 7
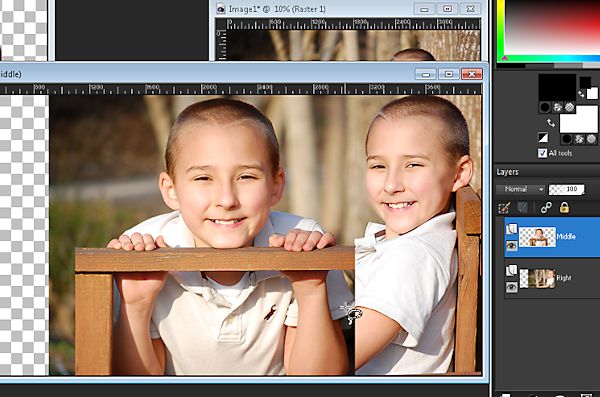
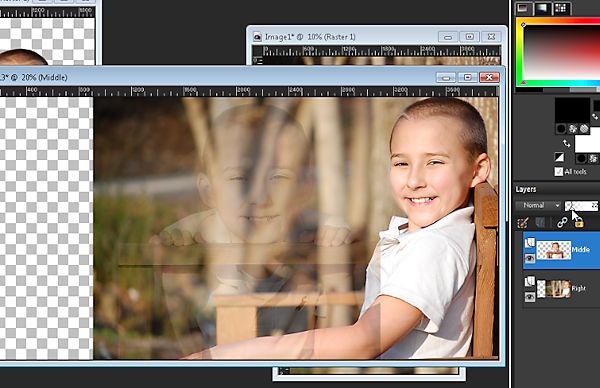
Lower the opacity of the ‘Middle’ layer and trace the contour of the arm using the Freehand Selection tool (point to point). This will make the middle image appear to be behind the right image. Once the selection is complete, turn the opacity back to 100% and then Press ‘Delete’ on your keyboard to remove the selection. Then press Ctrl + D to deselect.
Step 8
Select the image that you will be using as the left layer. Remove the right half of the background using the Freehand Selection tool (point to point). Once removed, copy and paste on a new layer Raster named ‘Left.’
Step 9
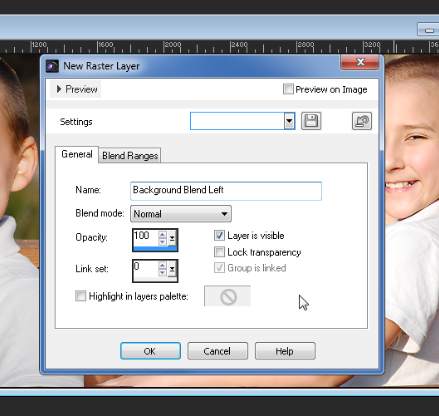
Edit > Copy the the background blend we cut out at the first of this tutorial. Create a new raster layer named ‘Background Blend Left’ directly above the ‘right’ layer.
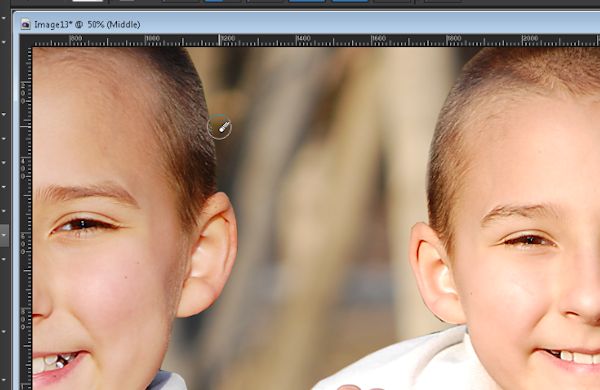
Step 10
Select the ‘Middle’ layer. Next, select the eraser brush and set the opacity to around 5% and blend/feather the area around the edges of the hairline. Note: This will not erase the area around hair/head, instead it will lighten it creating a blending/feathering effect. Repeat for the ‘Left’ layer and ‘background blend’ layer if necessary.
Step 11
Use the Freehand Selection tool to clean up any edges that were left over from the original selections from each layer if needed.


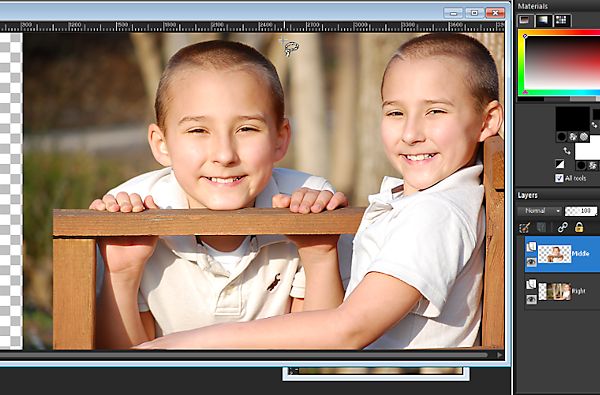
Blended photo collage Final Results
Leave Your Response