

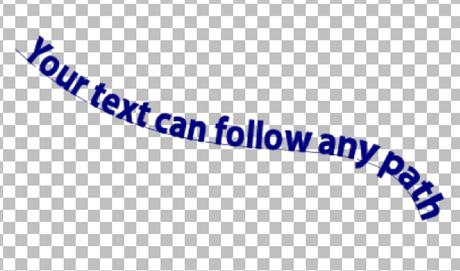
Here’s a quick little text tutorial that will demonstrate how to add text to curved paths (or any path) using Paint Shop Pro. You can create your own paths and/or trace a path on an image using the pen tool, or use the preset shapes built into Paint Shop Pro.
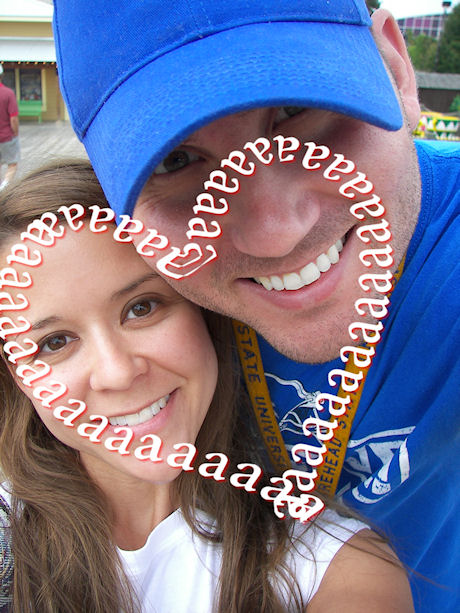
Adding text to paths can allow for your designs and projects to become more dynamic and eye catching. We often see a lot curved text designs in company logos, movie posters, postcards, calendars, signatures, avatars, etc. If you haven’t discovered yet, how to add text path to your projects, then you may find this technique beneficial and/or fun. The path your text takes is up to you 🙂 Let’s get started.
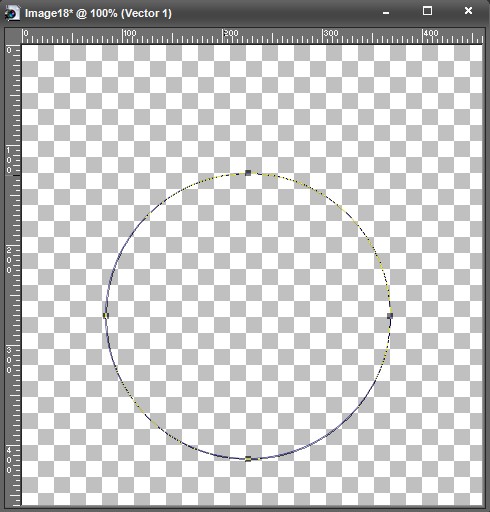
Step 1
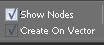
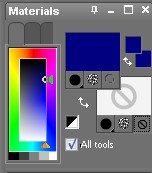
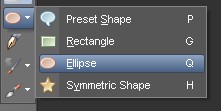
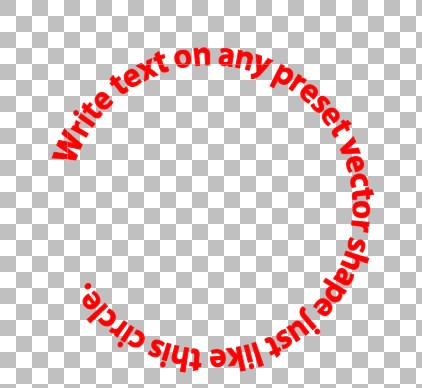
Select one of the preset vector shapes and/or use the pen tool to draw a custom vector path. Note: Make sure “create on vector” is checked. Also, if you don’t want the shape to be filled with a background color make sure you set the background to transparent in the materials palette.

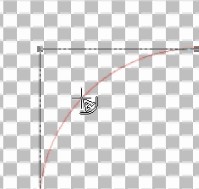
Step 2
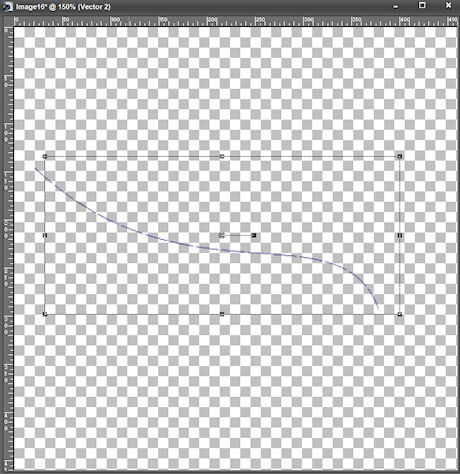
After you have your vector shape complete, select the text tool. Hoover the crosshair of the text tool anywhere over the edge of the shape. The text tool crosshair will change to the image below which represents that you want to write text to that particular area of the path.
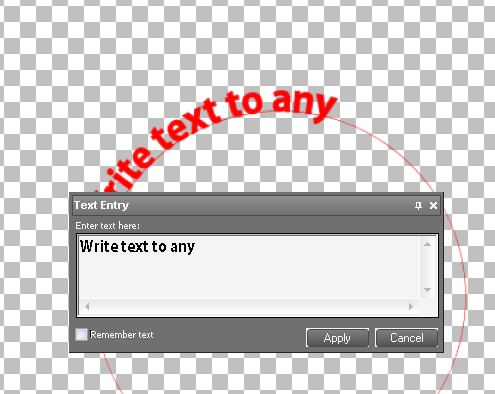
Step 3
Next, left click on your mouse to begin writing the text. Note: Make sure the path symbol is active under the “text crosshair” before you left click, otherwise the text will not be applied to the path of the shape.
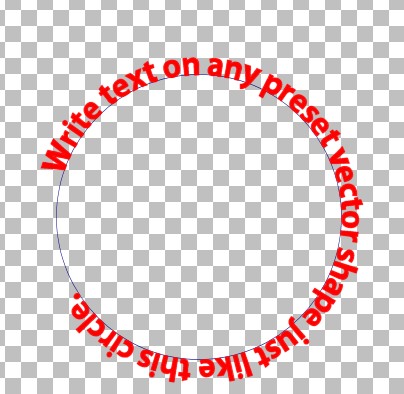
Step 4
Once your text is complete you can turn off the visibility of the shape you used to write the text by expanding the vector layer, and toggling off the original shape.
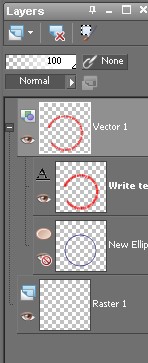
Step 5
That’s it. Remember, you can also convert the vector to a raster layer by right clicking the vector layer in the layers palette, and then selecting Convert to Raster Layer. Converting to a raster layer will allow you to apply effects, such as drop shadows to your text.
27 Responses
Thanks so much for creating this blog. This has been on my google reader for sometime, keeping up to date with what you are producing. My father gave me PSP for christmas, so I am now using your blog as my primary base for learning. Many thanks x
Thank you so much, I’ve been wondering how to do this… I’ll credit you when I make stuff =)
Julia,
You are very welcome. I am glad this site is helping you out. I wish I could devote even more time to the site than I currently am. Hopefully, in a few months I should have the time to post two or three tutorials a day.
Kim,
No problem. I appreciate your gratitude. You don’t have to give me any credit, however, I would appreciate if you help spread the word around about paintshopblog.com and paint shop pro in general.
thanks,
torQQue
niceee but it prety simplee
I am using Corel Pain Shop Pro Photo X2, and I cant seem to find out how to start the first step. Where is the box that says that?
[…] Paint Shop Pro […]
I find the Corel learning centre rather obscure so it has been wonderful to find your tutorials. So clear, so practical. Thanks ever so much.
David
The pen is on your very left. Third one counting up.
They have opened the job as a full-time position, which means my temp job will no longer exist and I have to apply for the full time one. ,
[…] Re: how to create a Rocker banner w/ text ? Ok, I see what you mean now. Here’s a little tut I found that should give you the basic idea of it. How to add text to curved paths (or any path) using Paint Shop Pro | Paint Shop Blog […]
Thank you so much. I was searching high and low for a tutorial to make a shaped text path.
Thank You for this TUT. I’ve been looking for something to show me how to do this. But I’m having a little trouble finding the box to check “show nodes” and “create on vector” I’m using PSP Photo X2. TIA 🙂
Thanks, for the tut. I try to do it in pspx2. I did the part 2. and when I start typing text the text does not shows. What is tool crosshair. I’m new to PSPX2 and very lost. I don’t want to give up. Please help.
thanks
janie
O.k. finally I found were to click and I did it.
Thanks so much or the tut.
janie
Excellent been looking for something like this for ages.. Your a life saver thank you 🙂
Thank you for the tutorials, they are very helpful.
I am using PSP X. I am trying to create text on the bottom of the elipse, going from left to right. I can create the text on top, but the bottom keeps coming out backwards (right to left and mirrored)! Help!!!
I never got around photoshop as hard as I really wanted to use the app, psp is the only app I was able to use with easy. Thanx a lot to this site it’s been a big help to me!
thanks!
Thank you so much for taking your time and teach us how to do this. This tutorial was very helpful to me.
Thank you so much for this tutorial. It was very easy to follow, and I am so thrilled that I can now create curved text.
Thanks again.
Joan x
You have decided to give up putting new content on this site? I see limited content, and nothing new since Dec. 2010. I don’t know about others but I’m always looking for places with tutorials on PSP
Hi Priscilla. I will post as often as I can. My wife and I run several other websites too, a computer repair business. and a photography business. Not to mention our two boys keep keep us busy as well with all their activities and homeschooling.
Thank you again! Pretty very good post. I just stumbled upon your blog and wanted to say that I have really enjoyed reading your blog posts.
Thankyou Jarrod, t is so long since I had done this I had forgotten, you made it so easy for this old grandma,
Regards Cheryl
Thanks for the tutorial – it got me to where I wanted to go 🙂
Thank you for this tutorial. I remember doing this a long time ago with PSP X2, but haven’t done it in awhile. I just upgraded to PSP X5 and this worked perfectly. Thanks.