
This is a simple tutorial that demonstrates how to change the perspective of photos in Corel Paint Shop Pro. This tutorial is compatible with Paint Shop Pro X2, X3, or any other PSP versions that offer the deform tool.
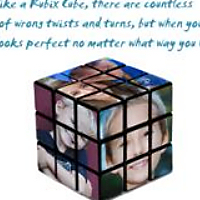
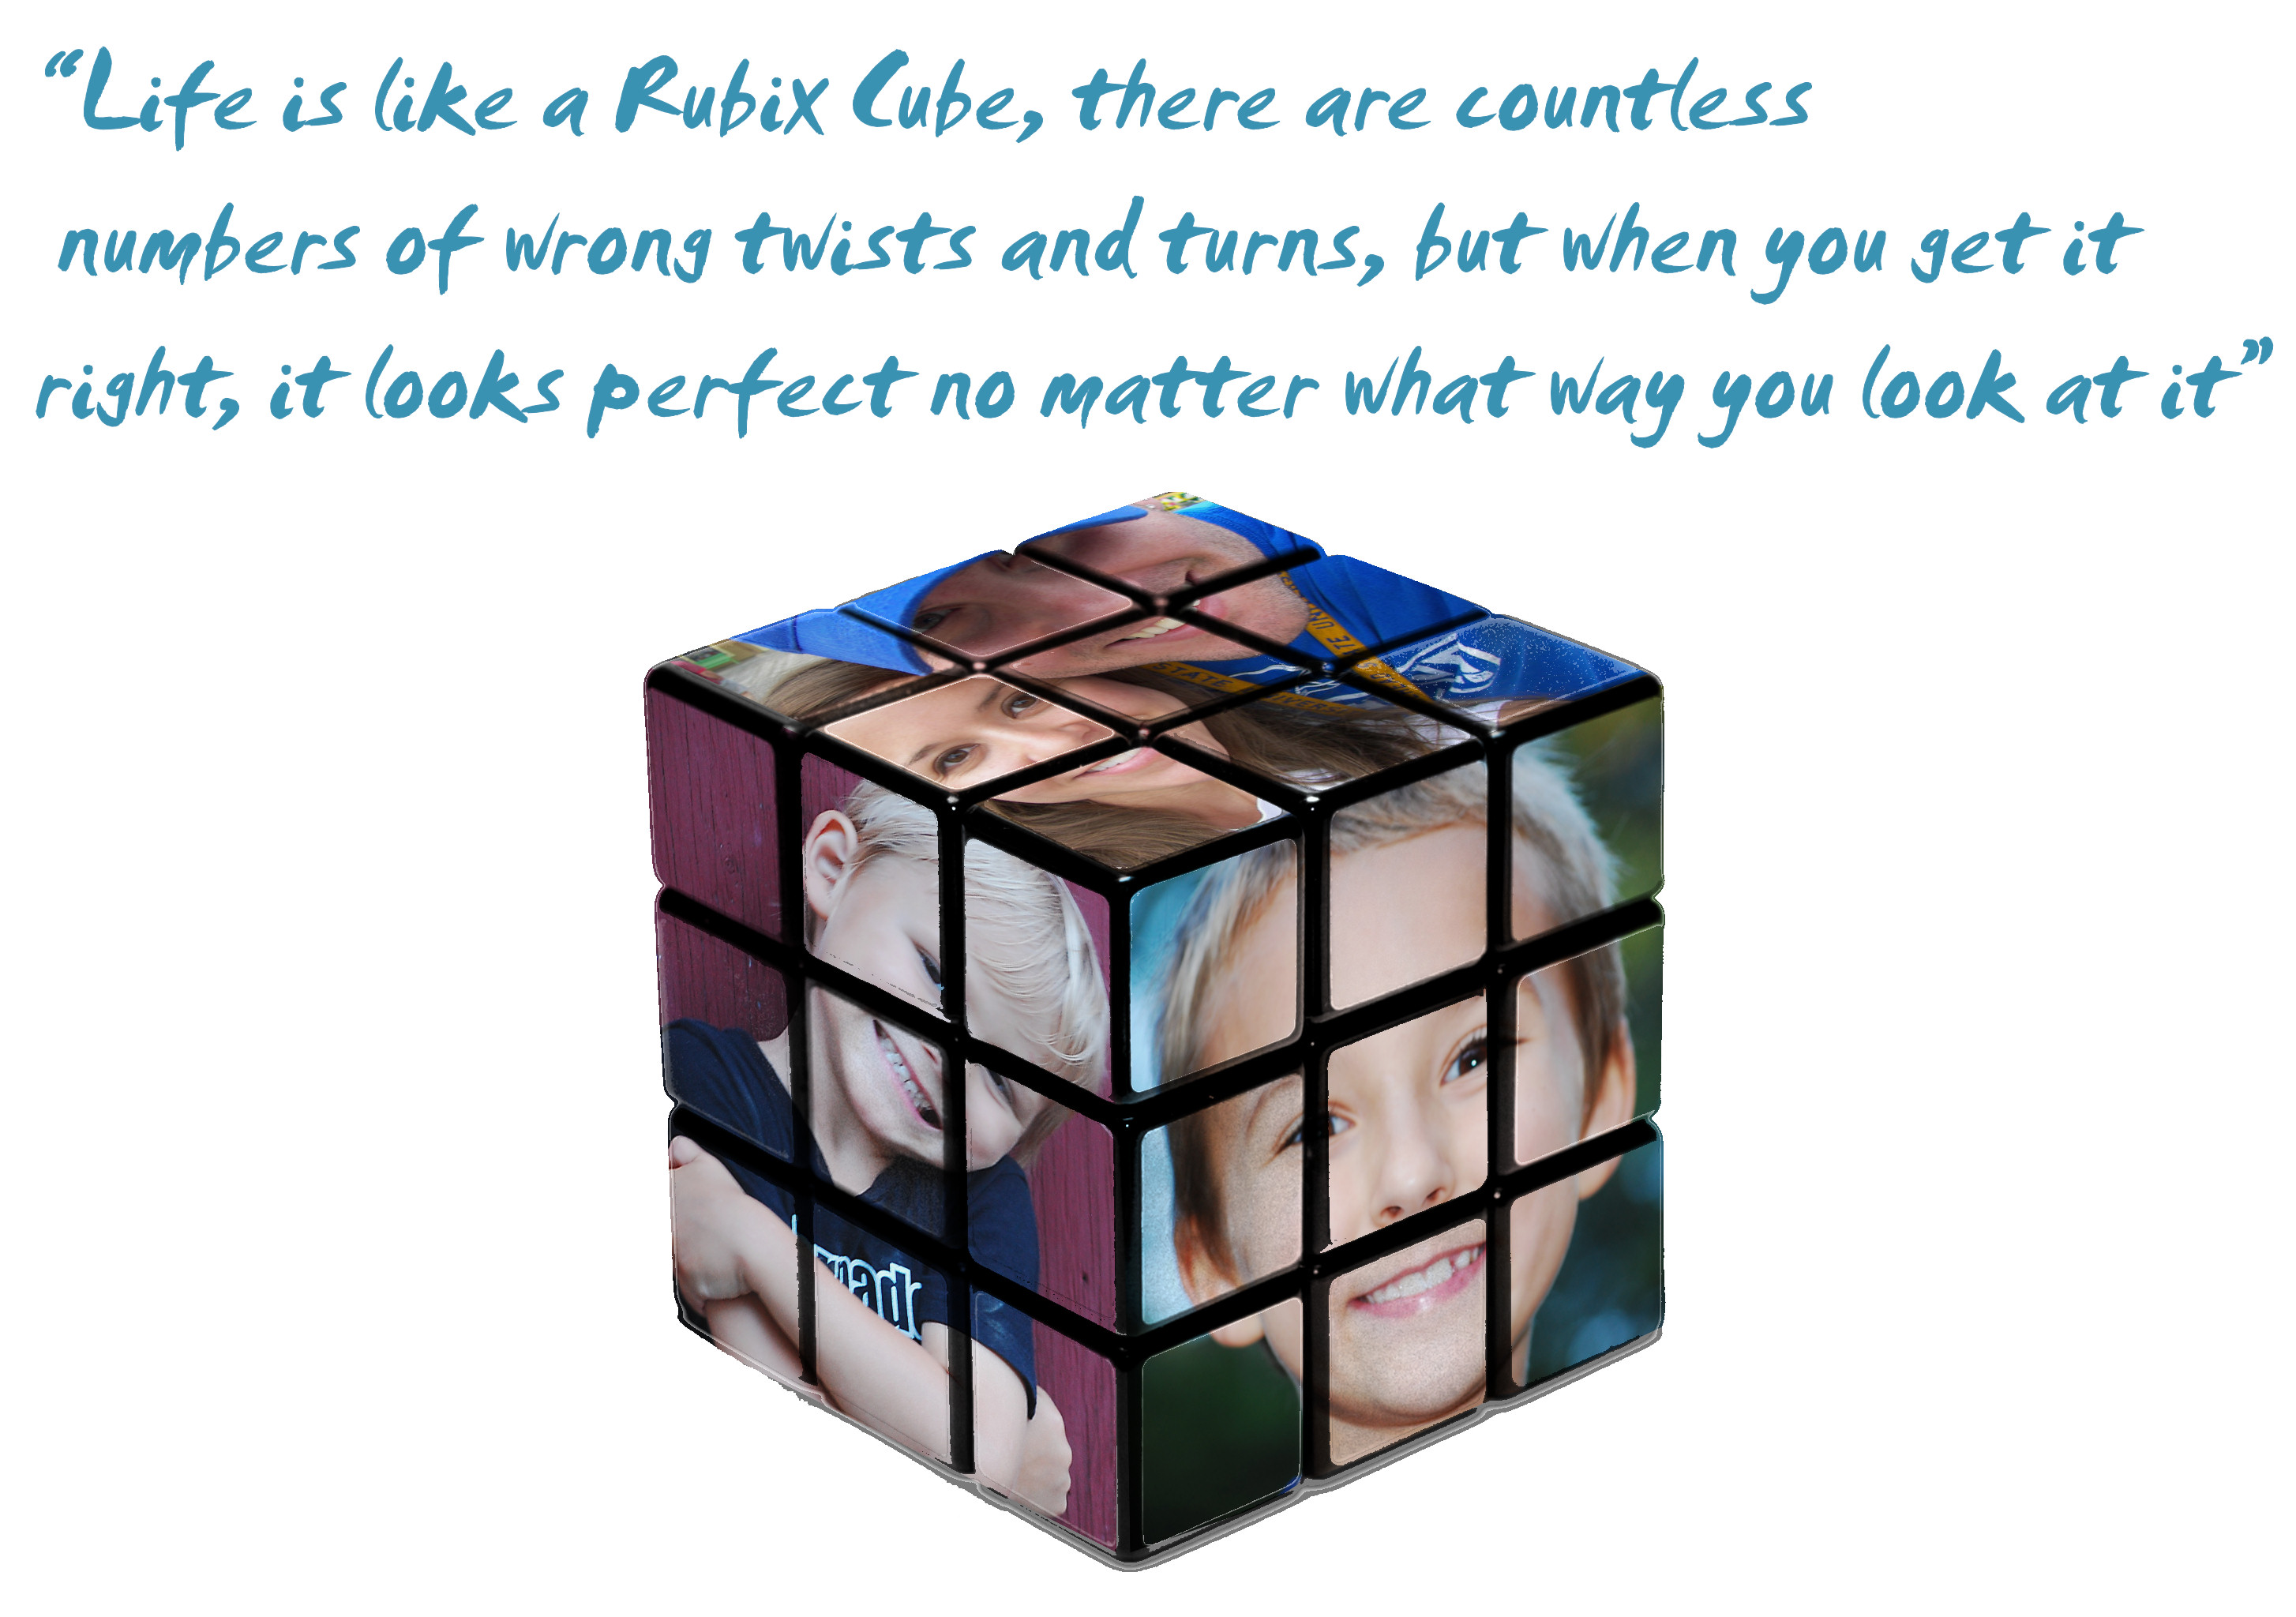
This process will make photos appear to be conformed to a particular object. For example, this technique could be used to easily apply decals to a car body. Essentially, you can wrap/mold a photo/image around any object type. I will demonstrate this process in this tutorial by using a rubix cube by applying photos of my two boys to each visible edge. The tool we will use to achieve this result will be the Deform Shear. BTW, the free rubix cube stock photo can be downloaded at http://www.sxc.hu/photo/468027.
Step 1
Download and open up the rubix cube photo in Corel Paint Shop Pro.
.jpg)
Step 2
Go to Adjust > Hue and Saturation > Hue/Saturation/Lightness and lower the Saturation to -100 to remove all the color from the rubix cube. Once that is complete go ahead and create a new raster layer, and rename it “Blue Side.”
.jpg)
.jpg)
Step 3
Open and copy (Edit > Copy) the photo you want to apply to the Blue Side layer. Once copied, paste it in on the Blue Side layer by going to Edit > Paste as New Selection. Press Ctrl to Deselect. Press ‘D’ on your keyboard to pull up the deform tool, set the deform mode to scale and use the anchor points to scale the photo to roughly the size of the blue rubix cube side. You can also uniformly resize/scale the image using the Scale X and Y values in the deform scale toolbar. Press ‘M’ on your keyboard to activate the move tool to roughly move the photo into position.
.jpg)
.jpg)
.jpg)
Step 4
Lower the opacity of the Blue Side layer so that you can easily align the anchor points. Press ‘D’ on your keyboard to pull up the Deform tool. Set the deform mode to Shear. You will notice 8 anchor points around your image. You will use the anchor points to align your image to the blue side, or any other object for that matter. For example, take the top right corner anchor, and drag it to the top right corner of the blue side of the rubix cube. Next, take the top left hand corner of the anchor and drag it to the top left hand corner of the blue side. Do the same for the bottom two corners. Once complete, turn the opacity back to 100 and change the blend mode to Overlay. Note: Use the eraser brush to brush away any excess or parts of the image you don’t want visible. For example, the edges of each individual cube.
.jpg)
.jpg)
.jpg)
.jpg)
.jpg)
.jpg)
.jpg)
.jpg)
.jpg)
Step 5
Create a new layer and rename it Yellow Side and repeat steps 3 and 4.
.jpg)
.jpg)
.jpg)
.jpg)
.jpg)
.jpg)
.jpg)
Step 6
Create a new layer and rename it Red Side and repeat steps 3 and 4.
.jpg)
.jpg)
.jpg)
.jpg)
.jpg)
.jpg)
.jpg)
.jpg)
.jpg)
.jpg)
Final Results
Click to view full. The rubix quote I applied is from Brian Cramer.
4 Responses
…THE Rubix Cube SOLUTIONSee the before cracking on with Part 1PART 1 SOLVE THE TOP CORRECTLYBefore you begin to solve Rubiks Cube you must learn how to solve one side correctly. Ironically solving the first side is easy to perform but hard to explain because the missing pieces are randomly dispersed over the entire cube.SOLVING THE BLUE SIDENote Solve the blue side first so that well be talking about the same reference colour. At this point you should have 4 blue corners in position and colour aligned as shown in figure 8.Now you must position and colour align all 4 top middle-edge pieces.Note All 4 pairs of side edge colours must match up.
My pictures come out very faded when I do overlay…
Also when I try to copy the new photo to one of the color rasters it makes brand new one and doesn’t copy to blue side or which ever one I try to copy to.
Paths are made up of line segments which are marked at their beginning and end by anchor points. This tutorial teaches you how to add delete and convert anchor points. As stated before anchor points mark the beginnings and ends of paths which make up objects.
I in addition to my fnderis happened to be reading through the good information from your web page then before long came up with an awful feeling I never thanked the site owner for those tips. The people appeared to be certainly joyful to see them and have quite simply been loving those things. We appreciate you really being quite helpful as well as for deciding upon some essential information most people are really eager to be informed on. My very own sincere regret for not saying thanks to you earlier.