
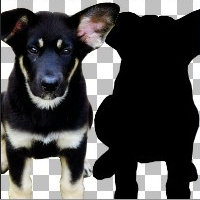
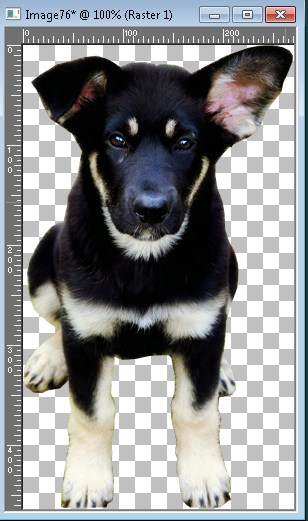
This is a very simple tutorial that will teach you how to make a silhouette from any photo using any color, gradient, or pattern. I don’t think I have shown off our new German Shepherd puppy on here yet, so I chose to use him (Ranger) for this silhouette example.
You can use this same technique to create a silhouette of a person, car, gadget, or anything else for that matter. These are very popular in stock photography. Save some money and make them yourself.
Let’s get started!
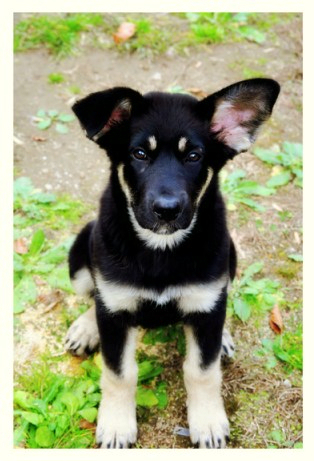
Step 1
Open the photo you will be using to create the silhouette.
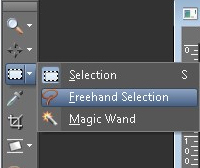
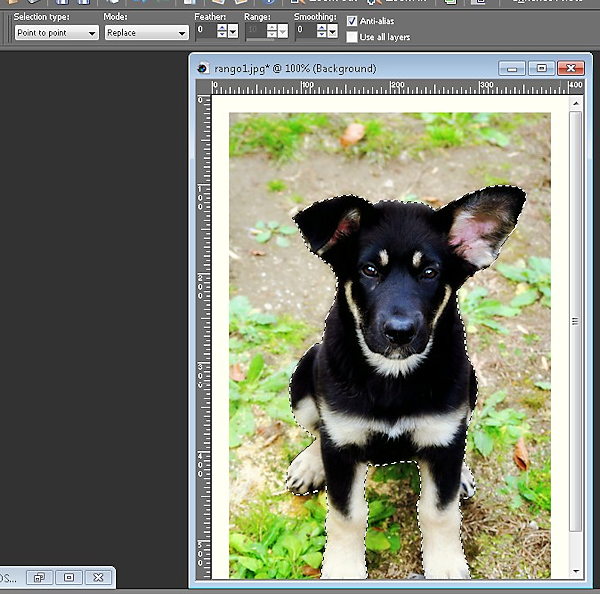
Step 2
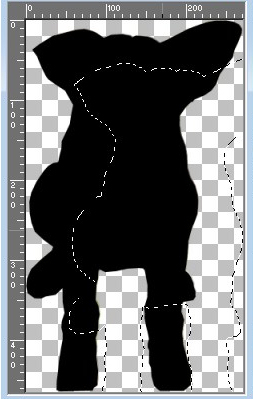
Make a selection around the object. Select the freehand selection and set the mode to point to point. Place points around the object you want to cut out. See this previous tutorial for a more in-depth guide on how to use the point to point selection tool.
Step 3
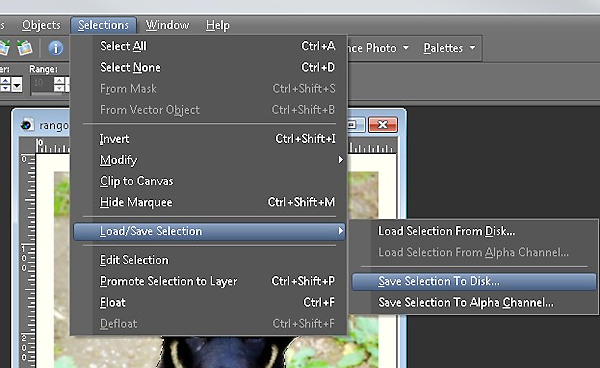
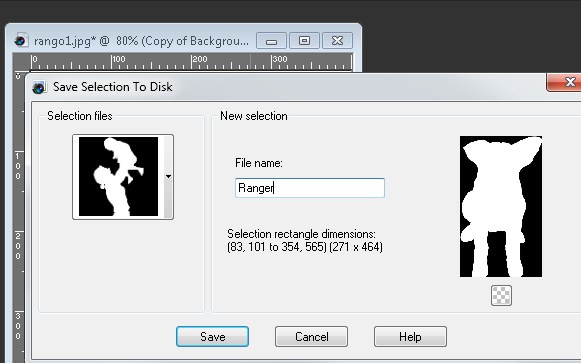
Next, save the selection to the disk channel. Remember to name the selection for easy future reference. If you save it to the disk it will be stored on your hard drive and will be available for any future projects. Optionally, you can save it to the Alpha Channel. The Alpha selection will only be saved within the pspimage of the photo your are working on.
Step 4
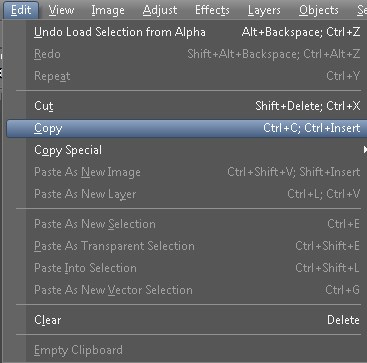
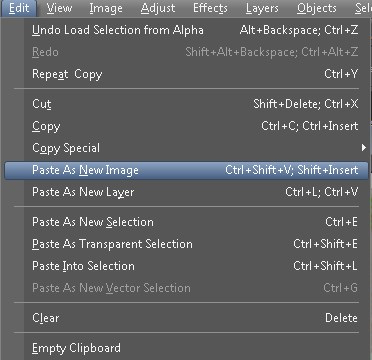
Now, go to Edit > Copy to copy the selection. Then go to Edit > Paste As New Image to paste the selection into a new image.
Step 5
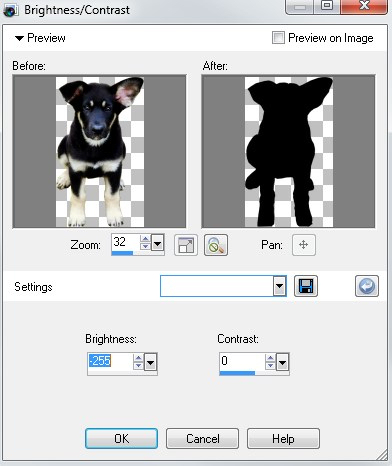
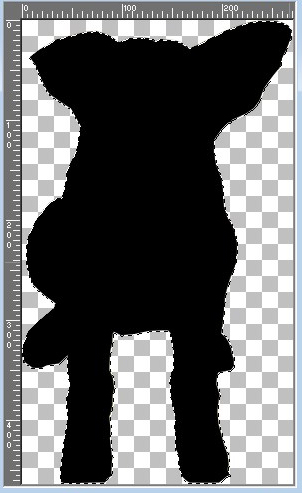
Lower the brightness of the newly pasted image to -255 to create a black silhouette. Adjust > Brightness and Contrast > Brightness/Contrast. Note there are several ways to do this, and in the next step I am going to demonstrate how to apply different colors or even gradients to your silhouette.

Step 6 (Optional) How to apply more colors to your silhouette?
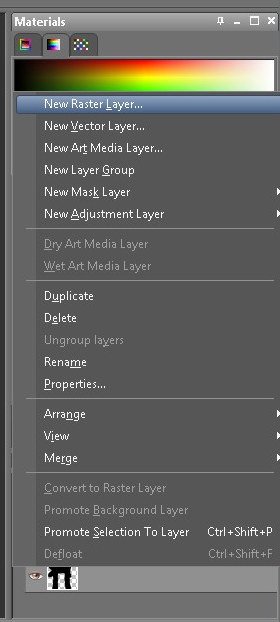
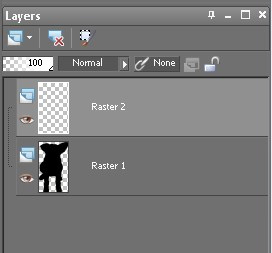
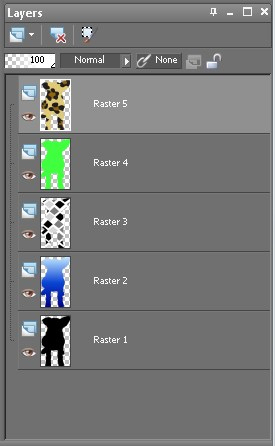
Create a New Raster Layer. Right click on Raster 1 (bottom layer) and select Create New Raster Layer (Raster 2). Select the Raster 2 layer and then go to Selections > Load/Save Selection > Load Selection from Disk Channel. Or choose Load Selection from Alpha Channel if you saved it there in step 3. Note: If you need to reposition the loaded selection, just move your cursor inside the selection while holding down the right mouse button to drag the selection to the position you want.
Step 7
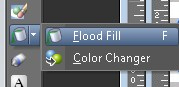
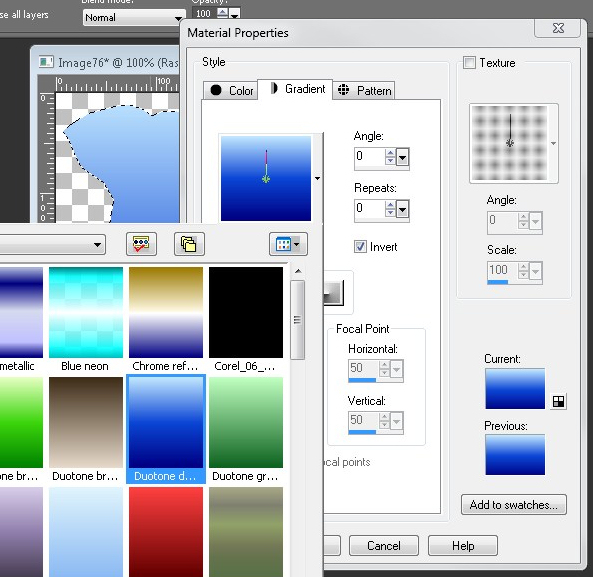
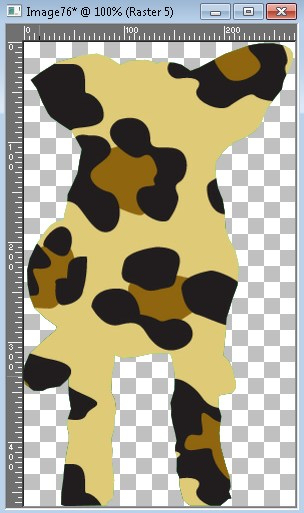
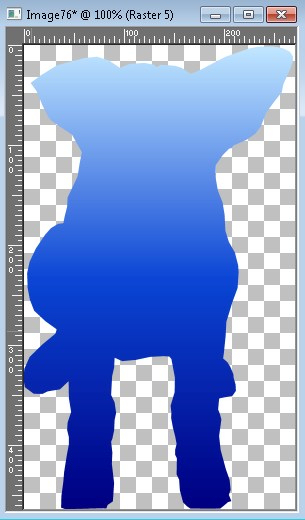
Finally, flood fill the selection with any color, gradient or pattern you want. Note: Create a New Raster Layer for each color.
5 Responses
I found your blog on the search engines. I believed most weblogs were not easy to rank. You must have some Google wizardry in here some place. Thank you for the posting.
Your Comments:
your suggestions on how to make a silhouette with Paintshop Prox4 sounded great, however I need printed instructions to follow as I maneuver my way through each step. I tried to copy&paste your instructions to Word, however very little material made the digital transfer. Can you eiher email me the printed material (I know that is very “old world”, but then, so am I old but still of this world) email the data to the above email address and I will then be able to print from there; at least I would hope so. Thanks for your time and instructions.
Rodney
Could you be please send me the silhouette tutorial in print form so that I am able to refer each step as I proceed to the conclusion?
Thank you,
Rodney
rg8life@earthlink.lnet
Rodney, you can print it to a PDF using http://www.cutepdf.com/. It is a free program that allows you to print web pages to a pdf.
Thanks for the suggestion of the pdf site. I’ve completed that download, printed your tutorial and will now attempt to follow same within the next few days. I appreciate your response and look forward to success.
R