

In this tutorial we will learn how to quickly create a very sleek and cute looking baby photo collage.
After completing this tutorial you should gain a better understanding of how to apply multiple images, background decorations, and text decorations using multiple layers. Hopefully, this tutorial is thorough enough that you will be able to take the techniques and apply them to your future designs. I am going to do a few other collage tutorials with more advanced techniques a little later on. This basic collage tutorial should help users new to Paint Shop Pro better understand layer manipulation. For this tutorial I used a photo of the newest addition to our family, my niece Kylee Grace. Isn’t she just adorable. I also used a couple of free stock photos that can be found at the following links.
http://www.sxc.hu/photo/1018049
http://www.sxc.hu/photo/1077433 (The 1077433 photo is no longer available at SXC). You can use http://www.sxc.hu/photo/778702 as a replacement, or just do a search for “purple flowers” or “flower gardens.”
I won’t be sharing Kylee’s photos for this tutorial. However, you will be able to easily follow along using photos of your friends or family. Lets get started!
Youtube Video
Feel Free to use the video as further reference to help you complete this tutorial. Note: I didn’t use the exact steps in the video as I do here in this tutorial. I am trying to teach beginners the basic fundamentals that will help them develop their own techniques and styles. As you become more familiar with PSP you will learn shortcuts, little tricks, and develop different strategies for completing projects. However, those things come with time and practice.
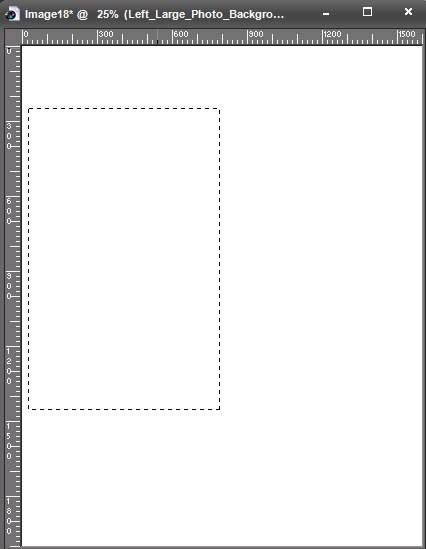
Step 1
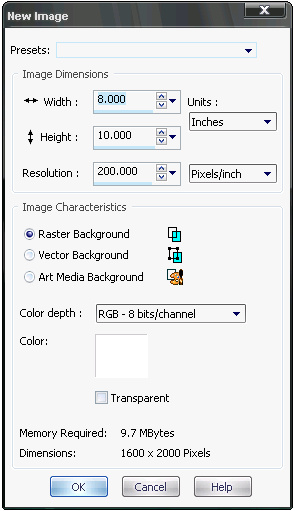
Create a 8×10 inch white Raster Background. Go to File > New and use settings as seen in the photo below. Optionally, you can create a different size collage. I chose 8×10 inch so my brother and his wife could have it printed and framed.
Step 2
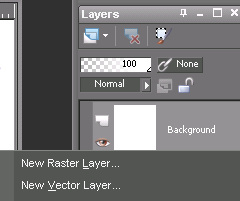
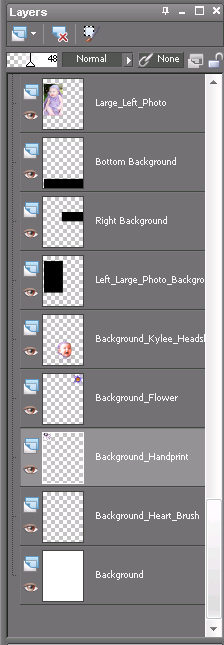
Create a New Raster Layer by right clicking on the background layer and selecting New Raster Layer. Double click on this newly created Raster Layer and name it Left_Large_photo_background or something similar to help you keep track of the many layers we will be creating during this tutorial.
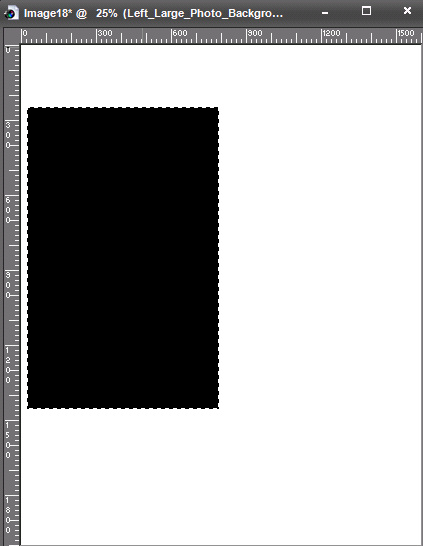
Step 3
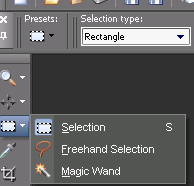
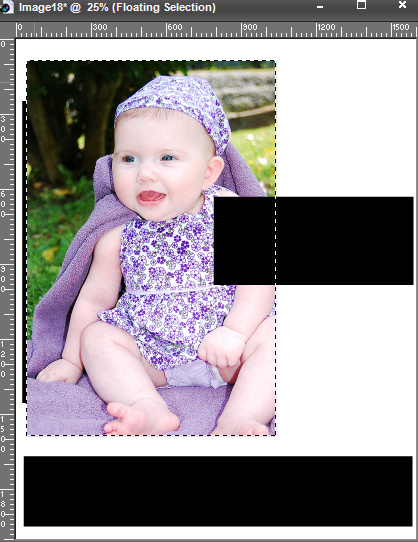
With the Left_Large_photo_background selected, select your Rectangle Selection tool and draw a selection similar to what you see in the photo below and then Flood Fill it with Black, or a color of your choice. Once you have Flood Filled the selection press Ctrl + D on your keyboard to deselect/deactivate the selection.
Tip: To Flood Fill simply select the color on the foreground materials palette and Press ‘F’ on your keyboard to access the Flood Fill tool.
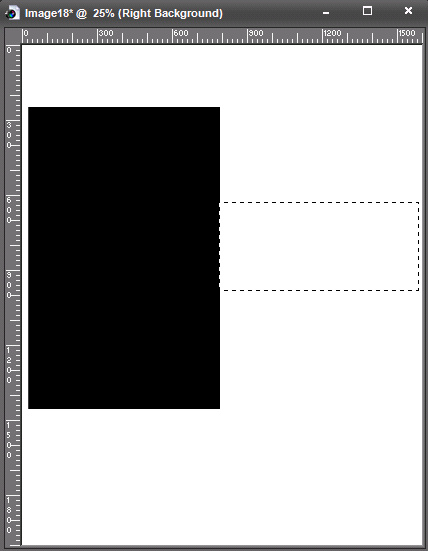
Step 4
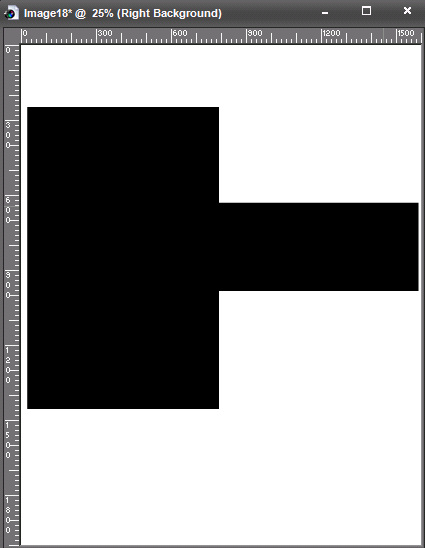
Create another New Raster Layer, and name it Right_Background. Next, draw another selection with the Rectangle Selection Tool and Flood Fill it with Black, or the color of your choice.
Tip: After you draw a selection with the selection tool you can move the active selection around by holding the right mouse button while dragging.
Step 5
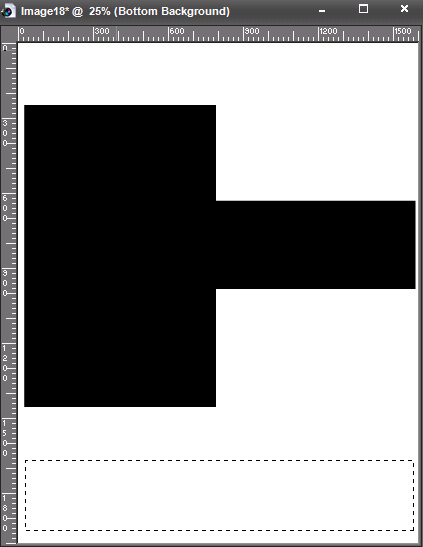
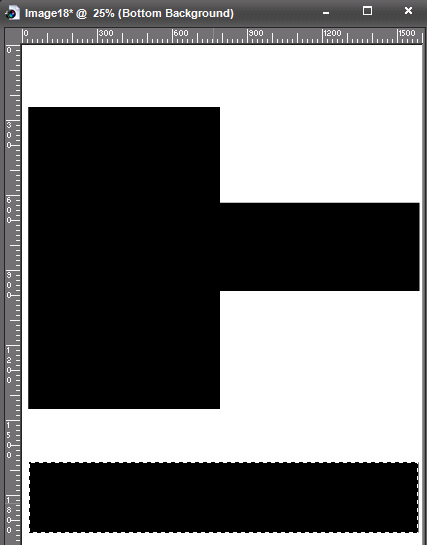
Create another New Raster Layer, and name this layer Bottom_Background. Like in the previous steps draw the selection and Flood Fill it using Black, or the color of your choice.
Step 6
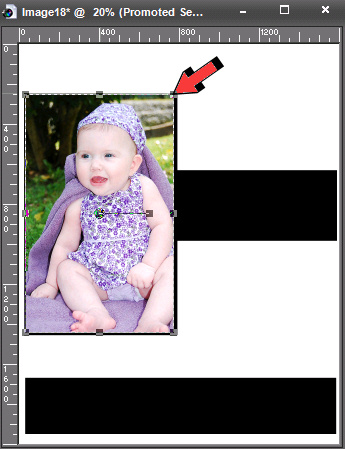
Create a New Raster Layer and name this layer Large_Left_Photo. Now, open the photo you want to use for this layer in Paint Shop Pro. Once you have the photo open in Paint Shop, copy the image by going to Edit > Copy. Next, go back to your collage project, and select the Large_Left_Photo layer. Then go Edit > Paste as new selection. Now, Press “D” on your keyboard to pull up the deform tool. Set the deform mode to scale and use the handles to scale your photo to fit.
Step 7
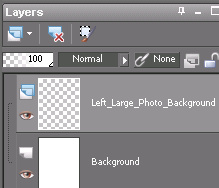
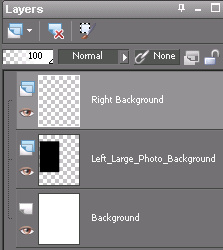
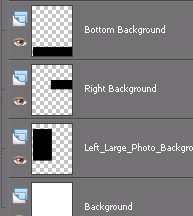
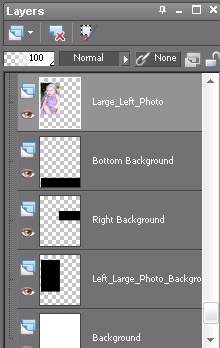
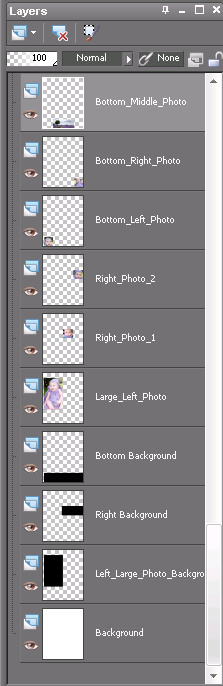
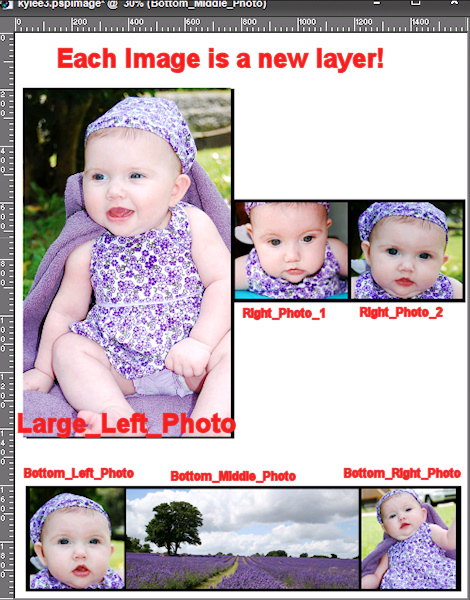
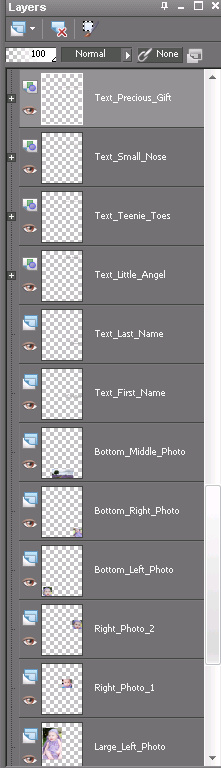
Keep repeating step 6 for each photo you add to your collage. Remember you will need to create a new Raster Layer and rename that layer to something that will help you keep track of the photos you are adding. Below you will see a photo of my layer palette and the naming conventions I used.
Note: I added some head shots to my collage. To do this I simply cropped them using the Rectangle Selection Tool before pasting them into my collage project.
Step 8
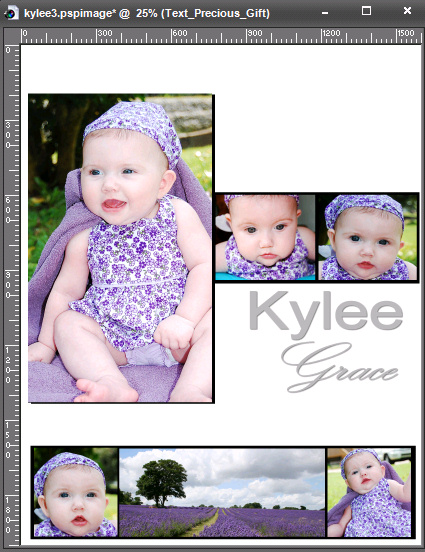
Now that you have all your photos in place lets go ahead and add some text. Again, create a New Raster Layer and name it Text_First_Name. Set your Foreground and Background to #bbbbbb or the color of your choice in the Materials Palette. Click on the text tool (press “T” on your keyboard to access). Set the Font Type, Size, and stroke width to whatever you desire. For the First_Name text I used a 72 font size, Arial Font Type, with a stroke width of 3 pixels. I also added a drop shadow to my First_Name Layer to make it stand out a little more. To add a drop shadow go to Effects > 3D Effects > Drop Shadow.
Tip: Look at the preview window inside the drop shadow tool as you adjust the various settings.
Step 9
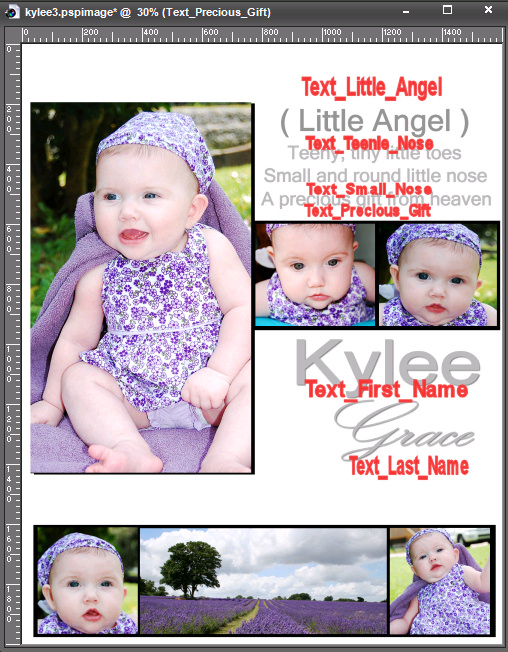
Keep repeating the process in Step 8 until you have all the text placed on your collage. Remember every new link should have a new layer so you can make adjustments such as lining it up, changing colors, adding drop shadows, etc.
Step 10
Now, we will add some background decorations. I used a hand print, flower, picture of Kylee’s head, and some heart brushes to decorate the background. Note: Here is the download link for the pspimages of the graphics I used. After I added each decoration to their own layer I lowered their opacity to around 40 to 50 percent. To decorate the background we need to create New Raster Layers directly above our original white background layer. That way our decorations appear to be part of the background and are under all other layers such as our text photo layers.
Tip: If you create a certain color scheme for your collage, then you can use the colorize tool (Adjust > Hue Saturation > Colorize) to change the color of your decorations to match your color scheme. For example, I used a purple color scheme for this collage, and I changed the handprint from black to purple.
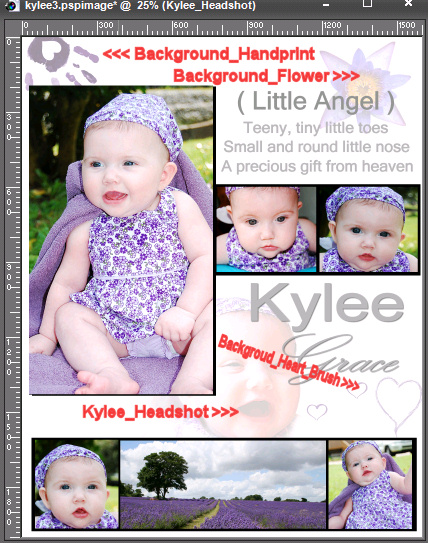
Final Results
Note: I had to significantly reduce the quality because the uncompressed jpg was over 2mb. Still looks pretty good though. Thanks for checking out another one of my tutorials. I look forward to your comments and feedback. Thank you!

17 Responses
Thank you so much for this tutorial! I have been hunting through all the “digital scrapbooking” sites that included tutorials, but none of them had Paint Shop!! I was beginning to think I would have to actually read through Corel’s directions.
My 3 day search ended today at Youtube. I didn’t know what a raster layer was, nor how to use the fill tool to fill a selection. As I did your step by step page, a BEAUTIFUL page of my 2 daughters emerged that looks professional!
Seriously…. THANK YOU, THANK YOU, THANK YOU!!
I am bookmarking this site!!
Good work on sharing this tutorial, its great the buzz people get when they find out how creative the humble computer allows them to be.
THANK YOU! this tutorial was exactly what i needed to find! again, thanks.
thank you soooooooo much. you did a good job teaching, and my collage looks very good.
Thank you so much for the wonderful tutorial. It really saved me lots of time. Great job!!
This was a great tutorial, very helpful.
You were the only one that could help me do what was needed!
Thank you!
This is great helped me a lot.Now I will be able to do some pages.Thanks Sooooooooo…Much
great tutorial.. thnx so much for sharing!!
Thanks for the tutorial. It’s great.
Thank you for the tutorial…it was the best one I could find and it helped me get started, but I did get a bit lost. Still I managed to create a collage for my blog. Pics of graffiti…no baby pics 🙂
This was the best tutorial, I think I might have to book mark. Thank you very much for posting the step by step. In the YouTube video there was to much movement and it went to fast for me to follow. THANK YOU!!
A question as I’m dutch and use the dutch version 🙂
I’m lost at stap 6 ‘deform mode to scale’
Where can find that option?
Thanks in advance!
The second and third links you posted at the top say “no such photo” could you tell me what I could use for replacements?
Ricki,
I was unaware, thanks for letting me know. The stock photography author must have removed them. I think the images are embedded in the pspimage http://www.paintshopblog.com/downloads/collage_graphics.zip – all except the picture of the flower garden. You can use something like this as a replacement http://www.sxc.hu/photo/1386826.. Or you could try searching “purple flowers” at http://www.sxc.hu
Ricki, here is another http://www.sxc.hu/photo/778702
hello there gary i got it from a mate so this is the contact
filling address ,ring them for advice ,say micky n told you to ring