
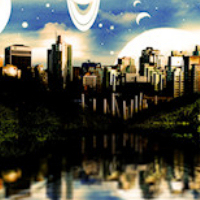
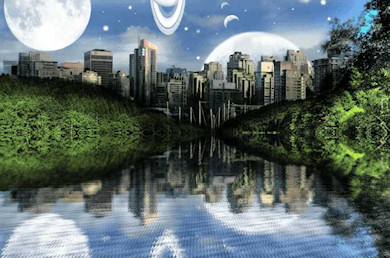
In this tutorial you will learn how to create a concept fantasy city. The fun thing about this tutorial is that you are only limited to your imagination. You can apply the steps used in this tutorial to any images you choose.
It’s your fantasy creation, you decide the colors, the skyline, and the lighting. If you are going to follow this tutorial step by step you will need the download these planet brushes available here, and you also need to download the free Almathera plug-in here. The Almathera plug-in is a great plug-in for creating reflections, lighting, drop shadows, halos, and a number of other cool effects. If you don’t know how to install plug-ins then refer to this tutorial to learn how to install.
This is my first attempt at this type of imagery. Please feel free to post any suggestions for improvement or provide feedback in the comments section.
Video Preview
A video of me completing this project. You can also use this a reference to help you complete this tutorial.
Step 1
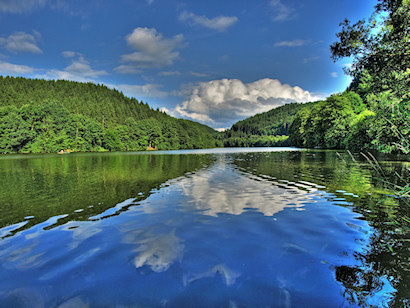
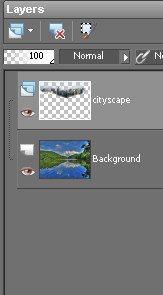
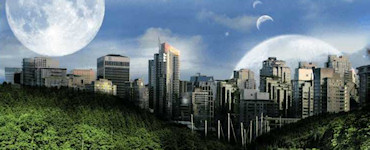
First, begin by opening up a landscape photo. I used the following free stock photo available at http://www.sxc.hu/photo/1033210. Now, that you have your landscape image open, right click on the background layer, and Create a new raster layer. Name this new layer “cityscape” and lower its opacity to 25%.
Step 2
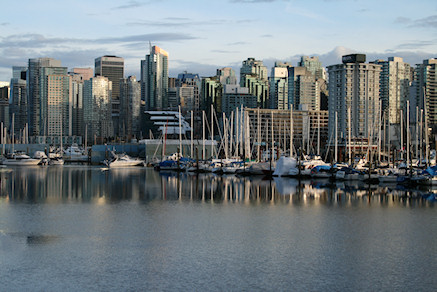
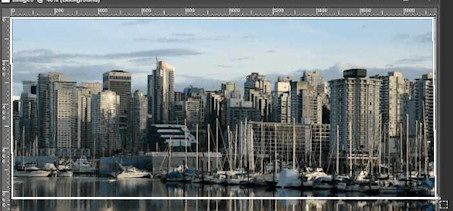
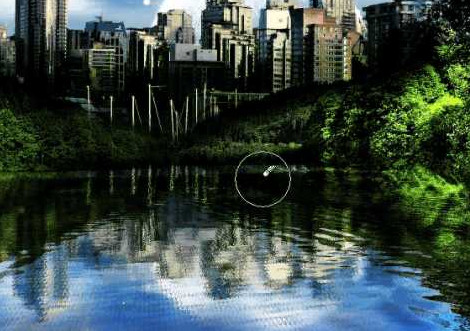
Next, open up a photo that contains a cityscape. I used the following free stock photo available at http://www.sxc.hu/photo/1034240. Using the Rectangle Selection Tool, draw a selection around the portion of the cityscape you want to add to the landscape. Then go to Edit > Cut to remove the selection. See images below for reference.
Step 3
Now, go back to the landscape (background layer) and paste (Edit > Paste as New Selection) the cityscape selection you just cut out, into the cityscape layer. Next, position and scale the cityscape selection using the deform tool. You can access the deform tool by pressing “D” on your keyboard.
Step 4
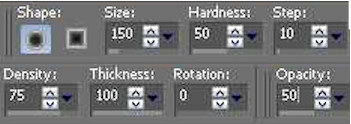
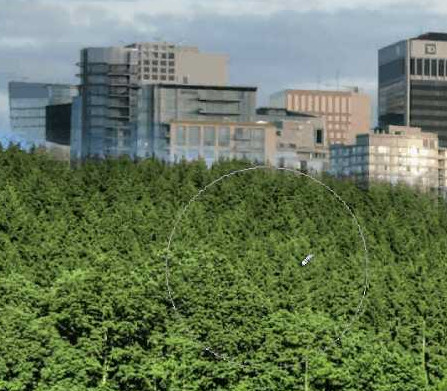
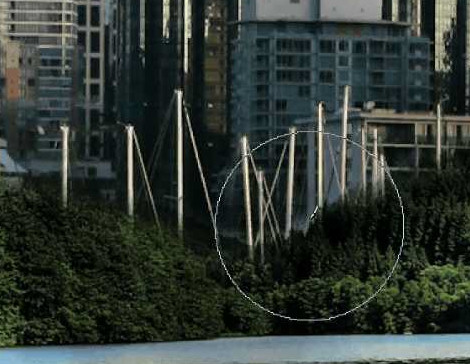
With your city selection now in place, turn the opacity of the cityscape layer back up to 100 percent. Next, select the eraser tool and use the settings similar to the following image, Now brush away the areas that you want to remove. Note: You can experiment with the eraser settings to get the results you desire. Remember, when erasing around detailed areas you will get better results if you use a softer eraser brush. To achieve this, lower the hardness setting on your brush to around 50%. Also lowering the opacity of the eraser brush will allow you to gradually erase areas of the image with several passes.

Step 5
Once you are satisfied with your eraser work, go ahead merge the cityscape layer with the landscape layer. To do this Right Click on the cityscape layer and choose Merge down. This combines the cityscape and landscape layers into one layer. Name this layer “Merged.”

Step 6
With the new Merged layer selected, select the lighten/darken brush by pressing “L” on your keyboard, lower the opacity of the darken brush to around 30 %, and begin painting some shadows on your merged layer. Note: To darken an area using the lighten/darken brush you press the right mouse button, to lighten an area you use the left mouse button.

Step 7
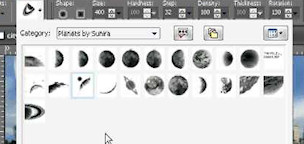
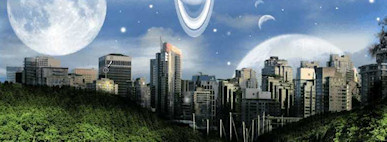
For this step, you will need the planet brushes available here. Create a new raster layer and set the blend mode to lighten and name it “planets.” After you install the planet brushes, select the paint brush tool and add some random planets to the skyline. Note: you do not have to place the planets in the same location as I did. You can use your imagination. Once you are satisfied with the planet placement, go ahead and merge the planets down on top of the merged layer. To do this right click the planets layer, and select Merge Down.
Hint: You can experiment with different blend modes and opacity settings before merging the planets. Also if you need more lighting you can apply lighting by going to Effects > Illumination > Lights and experiment with different lighting angles and lighting intensity.
Step 8
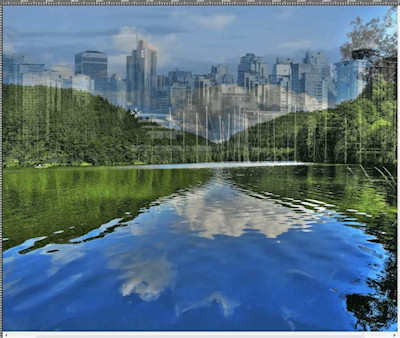
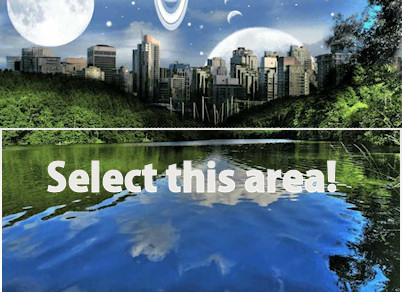
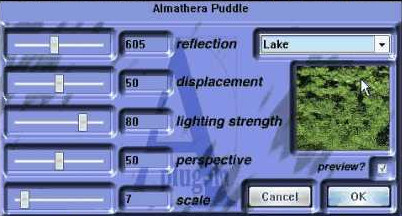
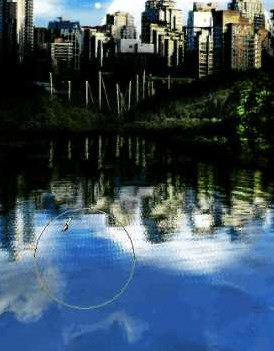
This step is optional. You only need to complete this step if your landscape photo has water, and you want to add a reflection of your cityscape in that water. Download the Almathera plug-in here if you haven’t already. With the Merged Layer selected, right click and select Duplicate. With the copy of the merged layer (duplicated layer) selected, choose the Rectangle Selection tool and draw a selection on the water. Now, go to Effects > Plugins > Almathera > A Puddle to create the reflection of the cityscape in your water (See image below for settings). Note: this plug-in creates a reflection of all the non-selected area, so adjust your selection accordingly. Once the effect has rendered, use the eraser tool to erase any areas of the reflection you do not want. Once you are satisfied merge down the copy of merged layer down by Right Clicking it, and selecting merge down.
Step 9
Make any further shadow adjustments if necessary by using the lighten/darken brush. Press “L” on your keyboard to select this brush.
Step 10
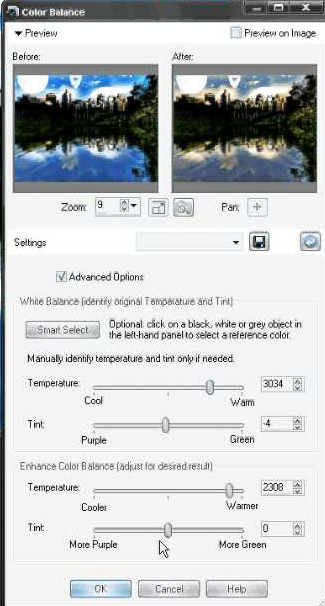
Finally, adjust the color balance temperature. This will help balance all the different variations of ambient light in the photo. A warmer setting will make the ambient light in the photo to appear yellowish, and the cooler setting will give the ambient light a blue tint. To adjust go to Adjust > Color Balance.
Optional step
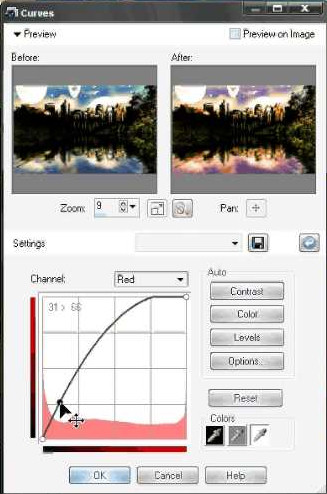
Duplicate the merged layer several times, and use the Adjust > Brightness and Contrast > Curves tool to experiment with different values. Note: The curves tool essentially allows you to remap brightness and color values uniformly by placing a point on a curve, and adjusting it accordingly. You can adjust RGB values combined, or individually using the channel drop down box. Play around with the curves tool on your duplicated layers to produce some cool results.
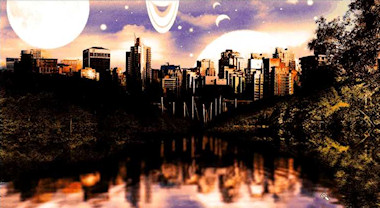
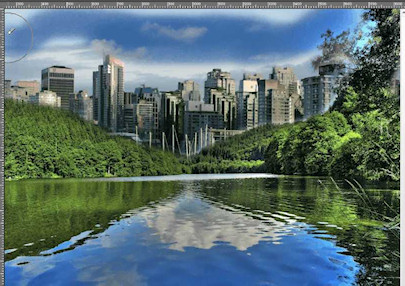
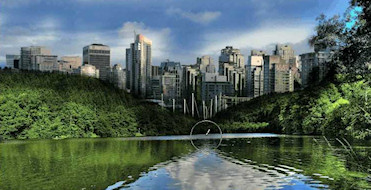
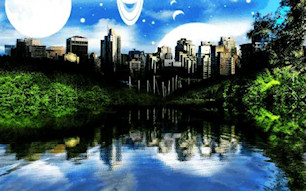
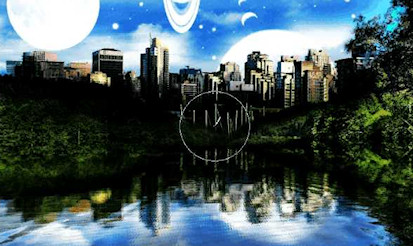
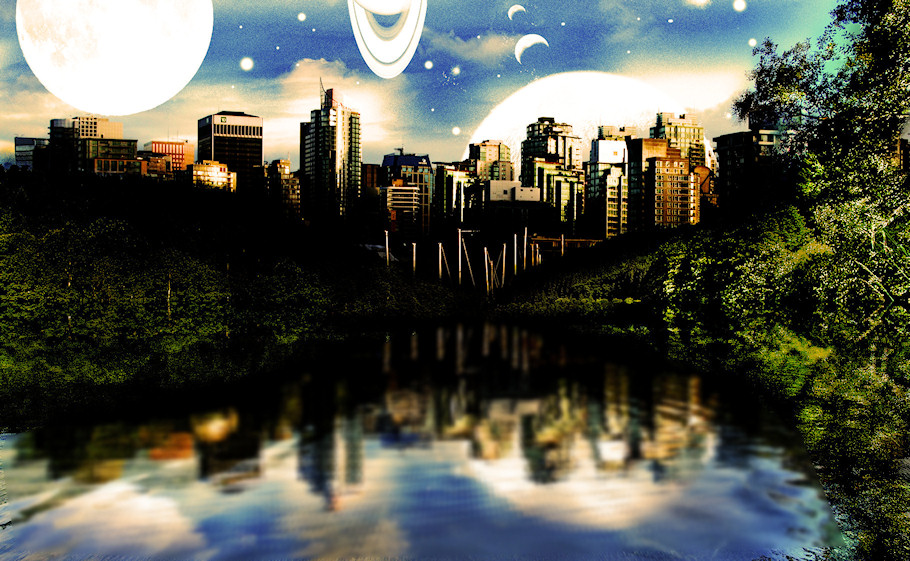
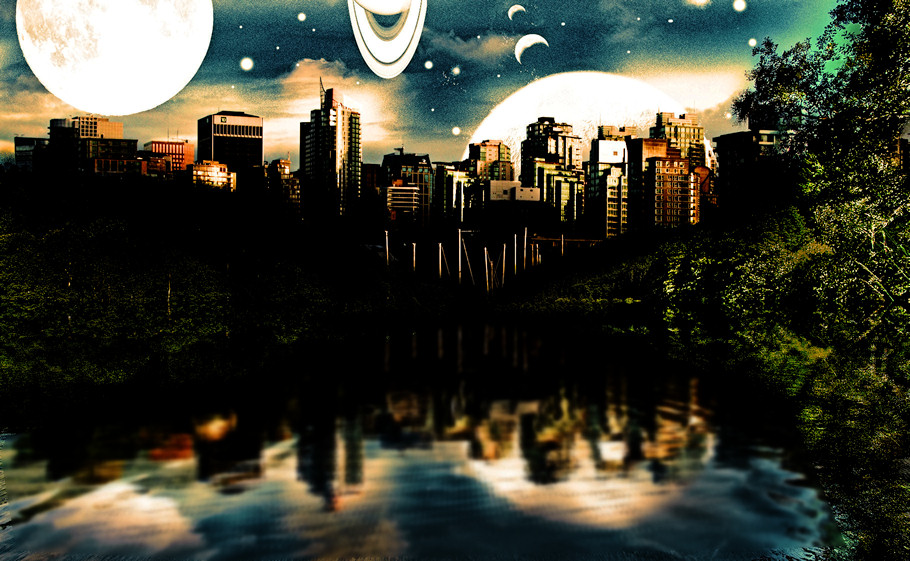
Final Results
I hope you enjoyed working through this tutorial.
14 Responses
I did this tutorial, and I absolutely LOVE the effect! 2 Thumbs Up! The site is bookmarked, so I’ll enjoy looking at many more tutorials.
Love all your tutorials. And thanks for sharing the lovely brushes (eyes & lips, planets). 🙂 Keep up great work.
Nice tuto , but can you tell me where I can Find brushes for PSP ?
is really nice how u do this thing u r a very creative person u knowww thx forthe tutorial adios
I followed the tutorial all the way up to using the aPuddle plugin and once i press ok, all i get is squares of noise water… no reflection …. has something changed? am i doing something wrong? i followed your instructions to the letter … I would love to finish this tutorial.
i downloaded the almathera plug-in but it isn’t by my effects.
am i doing something wrong?
i want to do this tutorial!
please help me!
Hey, cool tutorial i tried out corel paint shop, took me a while to sus it out but all good, wouldnt been able to do it without your vid
thanks heaps.x
😀
love this so much, thanks for tutorial
I absolutely loved this tutorial, what version PSP are you using as some of my windows in psp looked different. But made my own thing and Love it!
Thanks heaps
I also downloaded the Almathera plug in and when I did the plugin I ended up with squares and not a reflection. I used the exact settings and the exact photos you demonstrated. Everything else worked perfectly.
The problem seems to be in the plugin…definitely not in your teaching skills. I have you bookmarked and come back to you again and again.
Thanks so much!
I am stuck on step 3. It says go back to the background layer and paste the cut out section of the cityscape into the cityscape layer. I know it is supposed to wind up in the cityscape layer but how do I get it in there. All that shows up that I can paste into is the landscape layer. Is there a way to hi-lite the other layer to paste into? I really love this tutorial and I have kept at this all day trying to figure it out. Thanks for any help.
Into which Folder, of My PSP Files, does the Plugins > Almathera go?
Richy go to File > Preferences > File Locations to find out the default path the your Paint Shop is looking for the Plugins. You can also add more paths under File Locations. For even more help check out this link http://www.paintshopblog.com/2008/07/09/how-to-install-plugins-plug-ins-in-paint-shop-pro/
Your Comments
Will this plug in work with Win 8 (8210) consumer review?
thnx