
In the tutorial you will learn how to create specular highlights and increase the brightness of your photos. Btw, specular highlights is a fancy name for light reflections.
If you have taken photos at night, or in other low light situations, then there is a good chance that some of your photos are too dark and lack detail. In short, your photos suffer from underexposure. You may be able to breathe new life into those dark photos by using the Levels tool in Paint Shop Pro. The Levels tool allow us to simultaneously adjust, brightness, contrast, and gamma, or alternatively we can use the tool to adjust individual channels in the histogram. Lets go ahead and get started.
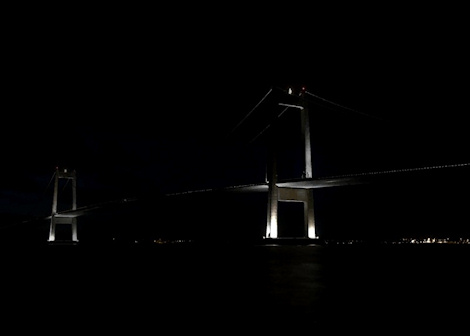
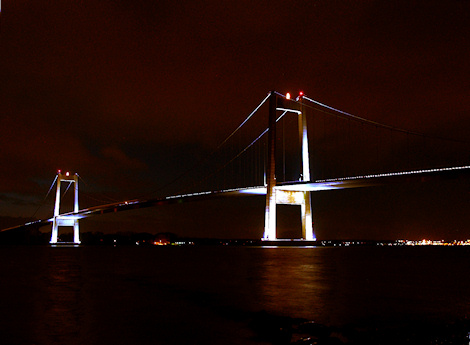
For this tutorial I used a stock photo of a dark bridge. If you want to follow along you can download the bridge photo here. Alternatively, you can use any other dark photo you want to brighten up.
Step 1
Open the dark bridge photo or one of your own dark photos you would like to increase the brightness and specular highlights in.
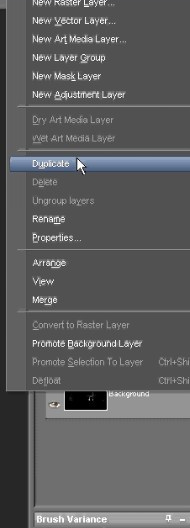
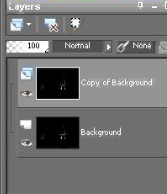
Step 2
Right click the background layer and select > Duplicate. Tip: It’s a good habit to create duplicates of your original image so you can quickly compare results of the different effects you apply, and you also preserve the original image.
Step 3
With the duplicated layer / copy of background layer selected go to Adjust > Brightness Contrast > Levels.
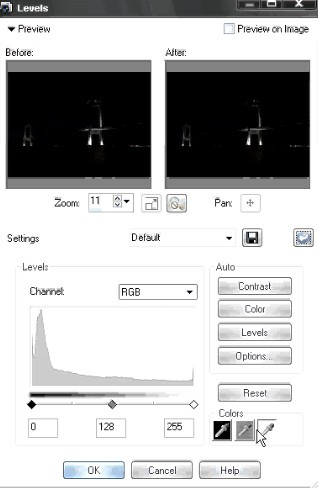
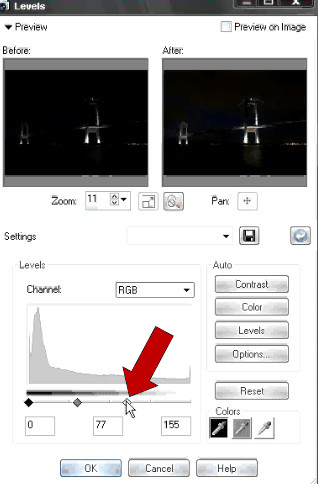
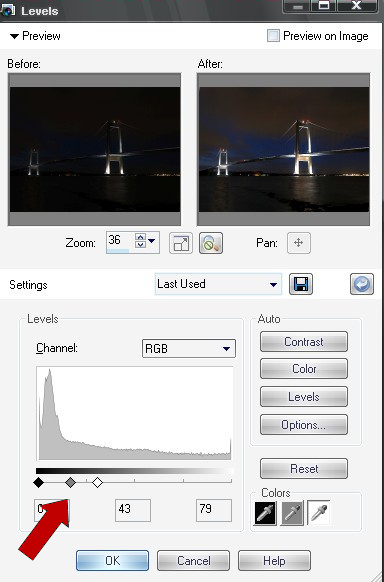
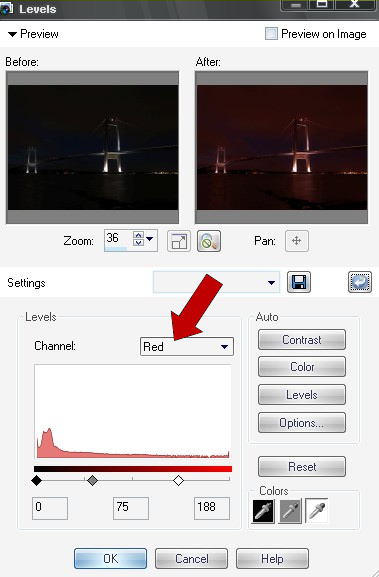
Step 4
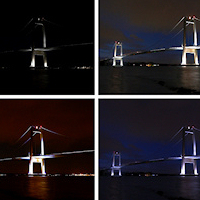
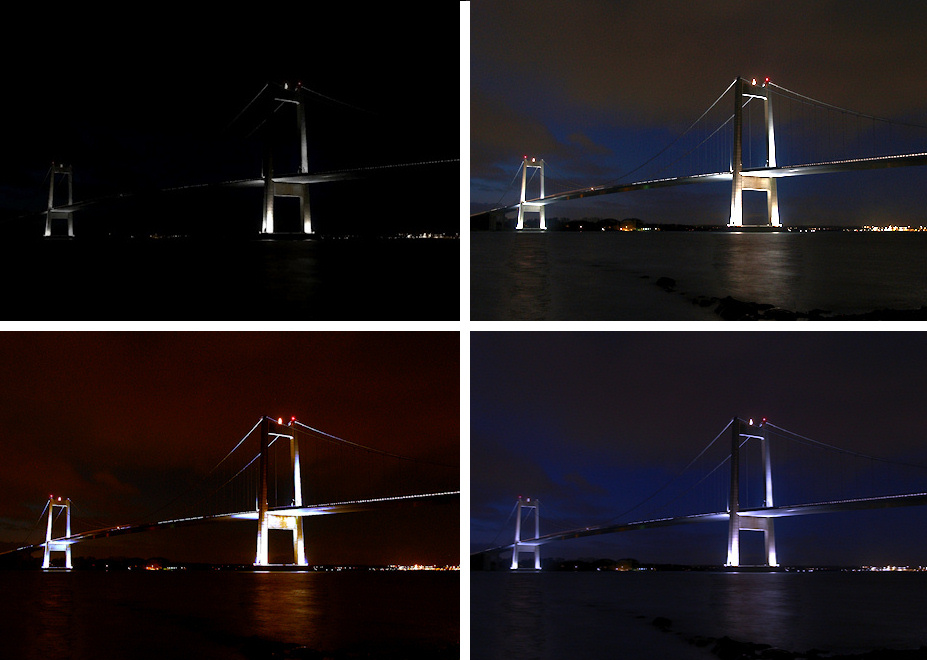
Now that you have the Levels tool pulled up, take a look at the bottom of the Levels menu. You will see three black, gray, and white diamond shaped sliders. You can use these to darken or lighten the dark pixels (black diamond), midtone pixels (gray diamond), light pixels (white diamond). For example, to increase brightness and specular highlights of the lightest pixels simply select the white diamond and slowly slide it left until you achieve the desired results. If you wanted to brighten only the midtones of a photo then you would select the gray diamond and slide it left. To darken pixels you would simply drag the sliders to the right (would be beneficial when pictures are overexposed). In the photo below I brightened up and added specular highlights of the midtones and light pixels by sliding the sliders slightly to the left.
Step 5
This step is optional. For example, lets say I wanted to increase only the red tones specular highlights/reflection throughout my photo. To do this simply adjust the red channel (or any other channel) individually to increase the brightness and specular highlights of that particular color channel.

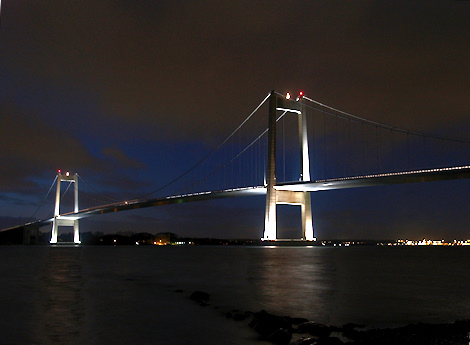
Final Results
2 Responses
this tutorial is incredible! I find using the levels layer to darken overexposed or even regular photos creates an amazing effect. Thanks for sharing.
This is Incredible! I took some wonderful Christmas Lights photos and this will help me to brighten them up a tad bit. I like this Tutorial. Thank you for sharing your knowledge!