
In this video tutorial you will learn how to quickly remove/replace objects and/or make people disappear in photos using Paint Shop Pro.
Alternatively, you can use the object replacer tool to accomplish this, however, I get mixed results with the object replacer. This holds especially true when replacing or removing larger objects in a photo. They almost always end up distorted. The method I am going to teach you in the video is much more effective, and in my opinion produces a more realistic effect. I’ll warn you up front, that some photos will have objects that are nearly impossible to replace with perfect results, mainly due with having too many differences in colors and multiple objects in the background. Pictures with static backgrounds such as water, grass, and sky will work great.
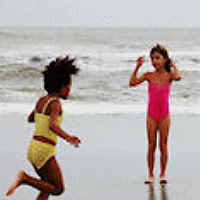
I didn’t bother to do a web based tutorial because the video tutorial will only take you a couple of minutes to complete. It was easier for me just to add the step by step text overlays to the video. Anyway, for this video tutorial I used a beautiful photo from this years vacation in Myrtle Beach of my two nieces. I hope you enjoy.
Thanks, torQQue
Step by step video tutorial
Before Photo
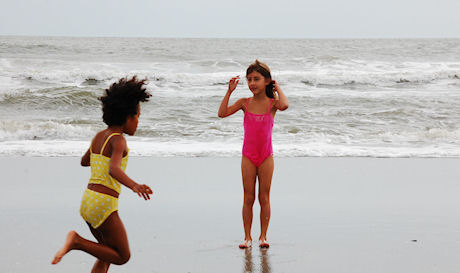
After Photo

6 Responses
Thank you for the tut. I learned something new, I’ve never tried this method before. Easy!
BBB
Very nice tutorial pretty much like the patch tool in CS3, but 1 question i know it depends on the picture but what setting should be used for feather as if it is set low it looks fake even when you use the eraser tool sometimes i need to set the feather to like 20 or 25;)
These are very helpful videos. While there are a ton of tutorials on Photo Shop, there are not many using Paint Shop. These are some of the betters one I’ve seen. Thanks!
I agree. These tutorials are awesome and very user friendly. Keep ’em coming.
OMG! This is gonna help me so much! Thank you thank you thank you!
Very nice choice in song, btw! Priscilla Ahn is…AMAZING!